Ways to Decorate on a Budget
Since moving house, I've been decorating my space and finding enjoyable ways to do it on a budget. Whether you've never picked up a paint roller, or you're a DIY fanatic, check out these fun and affordable ways to transform your space on a budget.
- Add Colour With Paint
- Refresh the Whole Room
- What You'll Need
- How to Paint the Whole Room
- Add a Feature Wall
- What You'll Need
- How to Paint a Feature Wall
- Go Bold With a Painted Ceiling
- What You'll Need
- How to Paint a Ceiling
- Get Creative With an Arch
- What You'll Need
- How to Paint an Arch
- Other Handy Tips
- Find Your Interior Style
- Create Pinterest Boards
- Make Mood Boards
- You Can Always Go Neutral

Decorating your space is a great way to make your home feel more you, but it can also be tough on your bank account. That’s why we’ve compiled a list of several fun and easy ways for you to transform your space on a budget. What’s more, they’ve all been done by one of our money-saving experts.
Add Colour With Paint
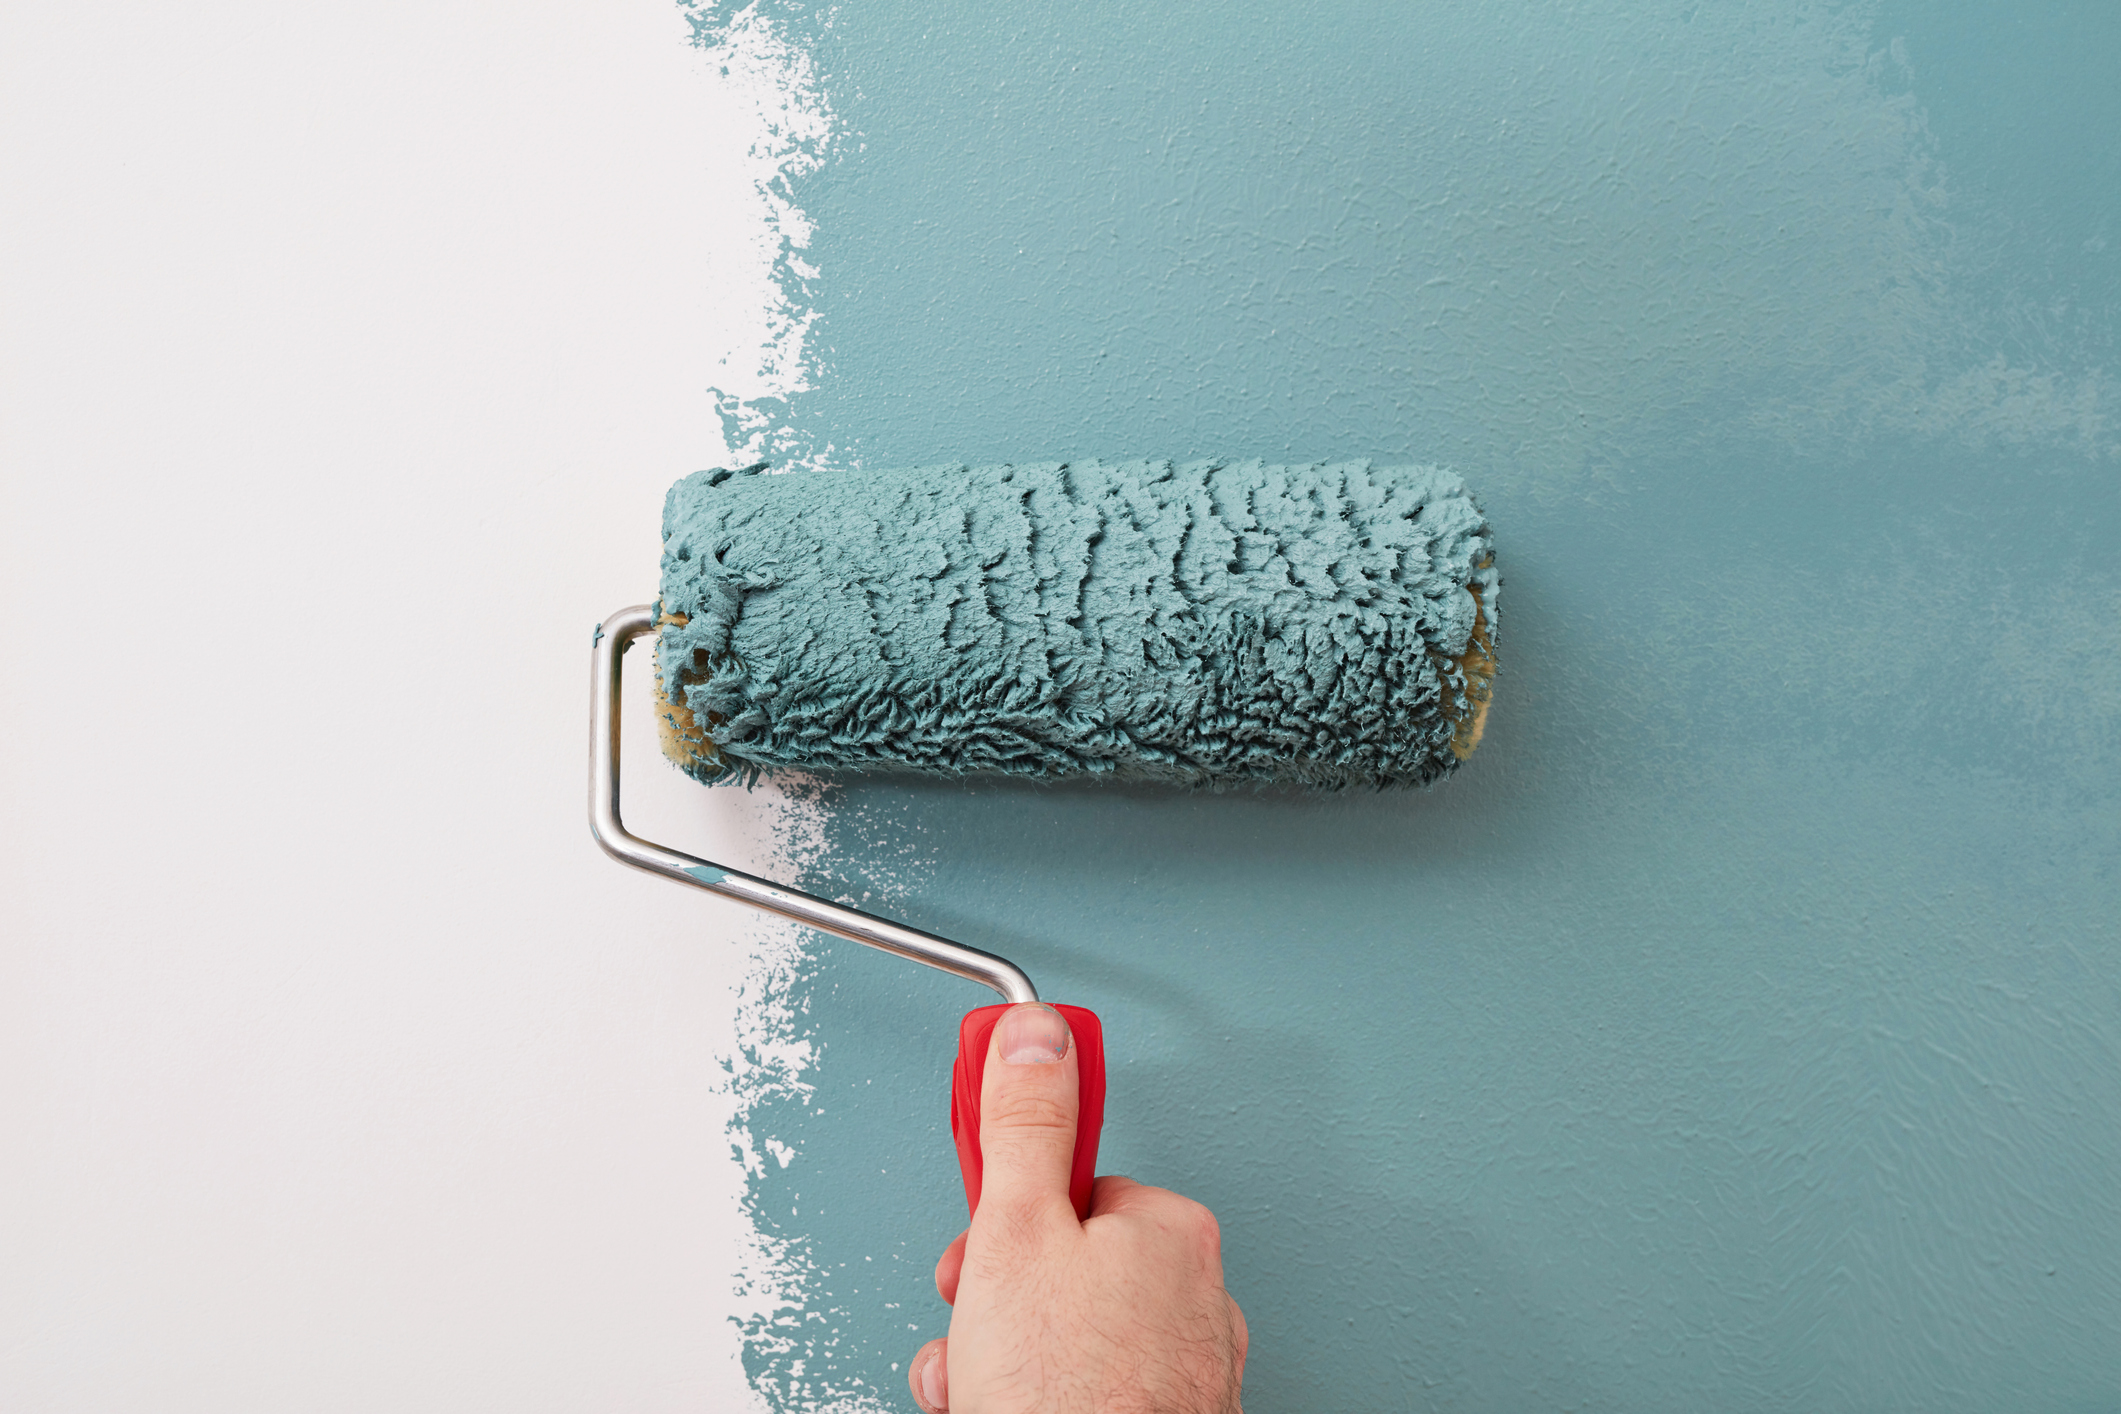
Whether you’re a minimalist, maximalist, or somewhere in between, paint can really help take a room up to the next level. For all of you lovers of keeping things neutral, worry not, it still counts if you choose a pale colour to paint your space. Make sure you read on to find out several ways you can use paint to really make your room look trendy.
Refresh the Whole Room
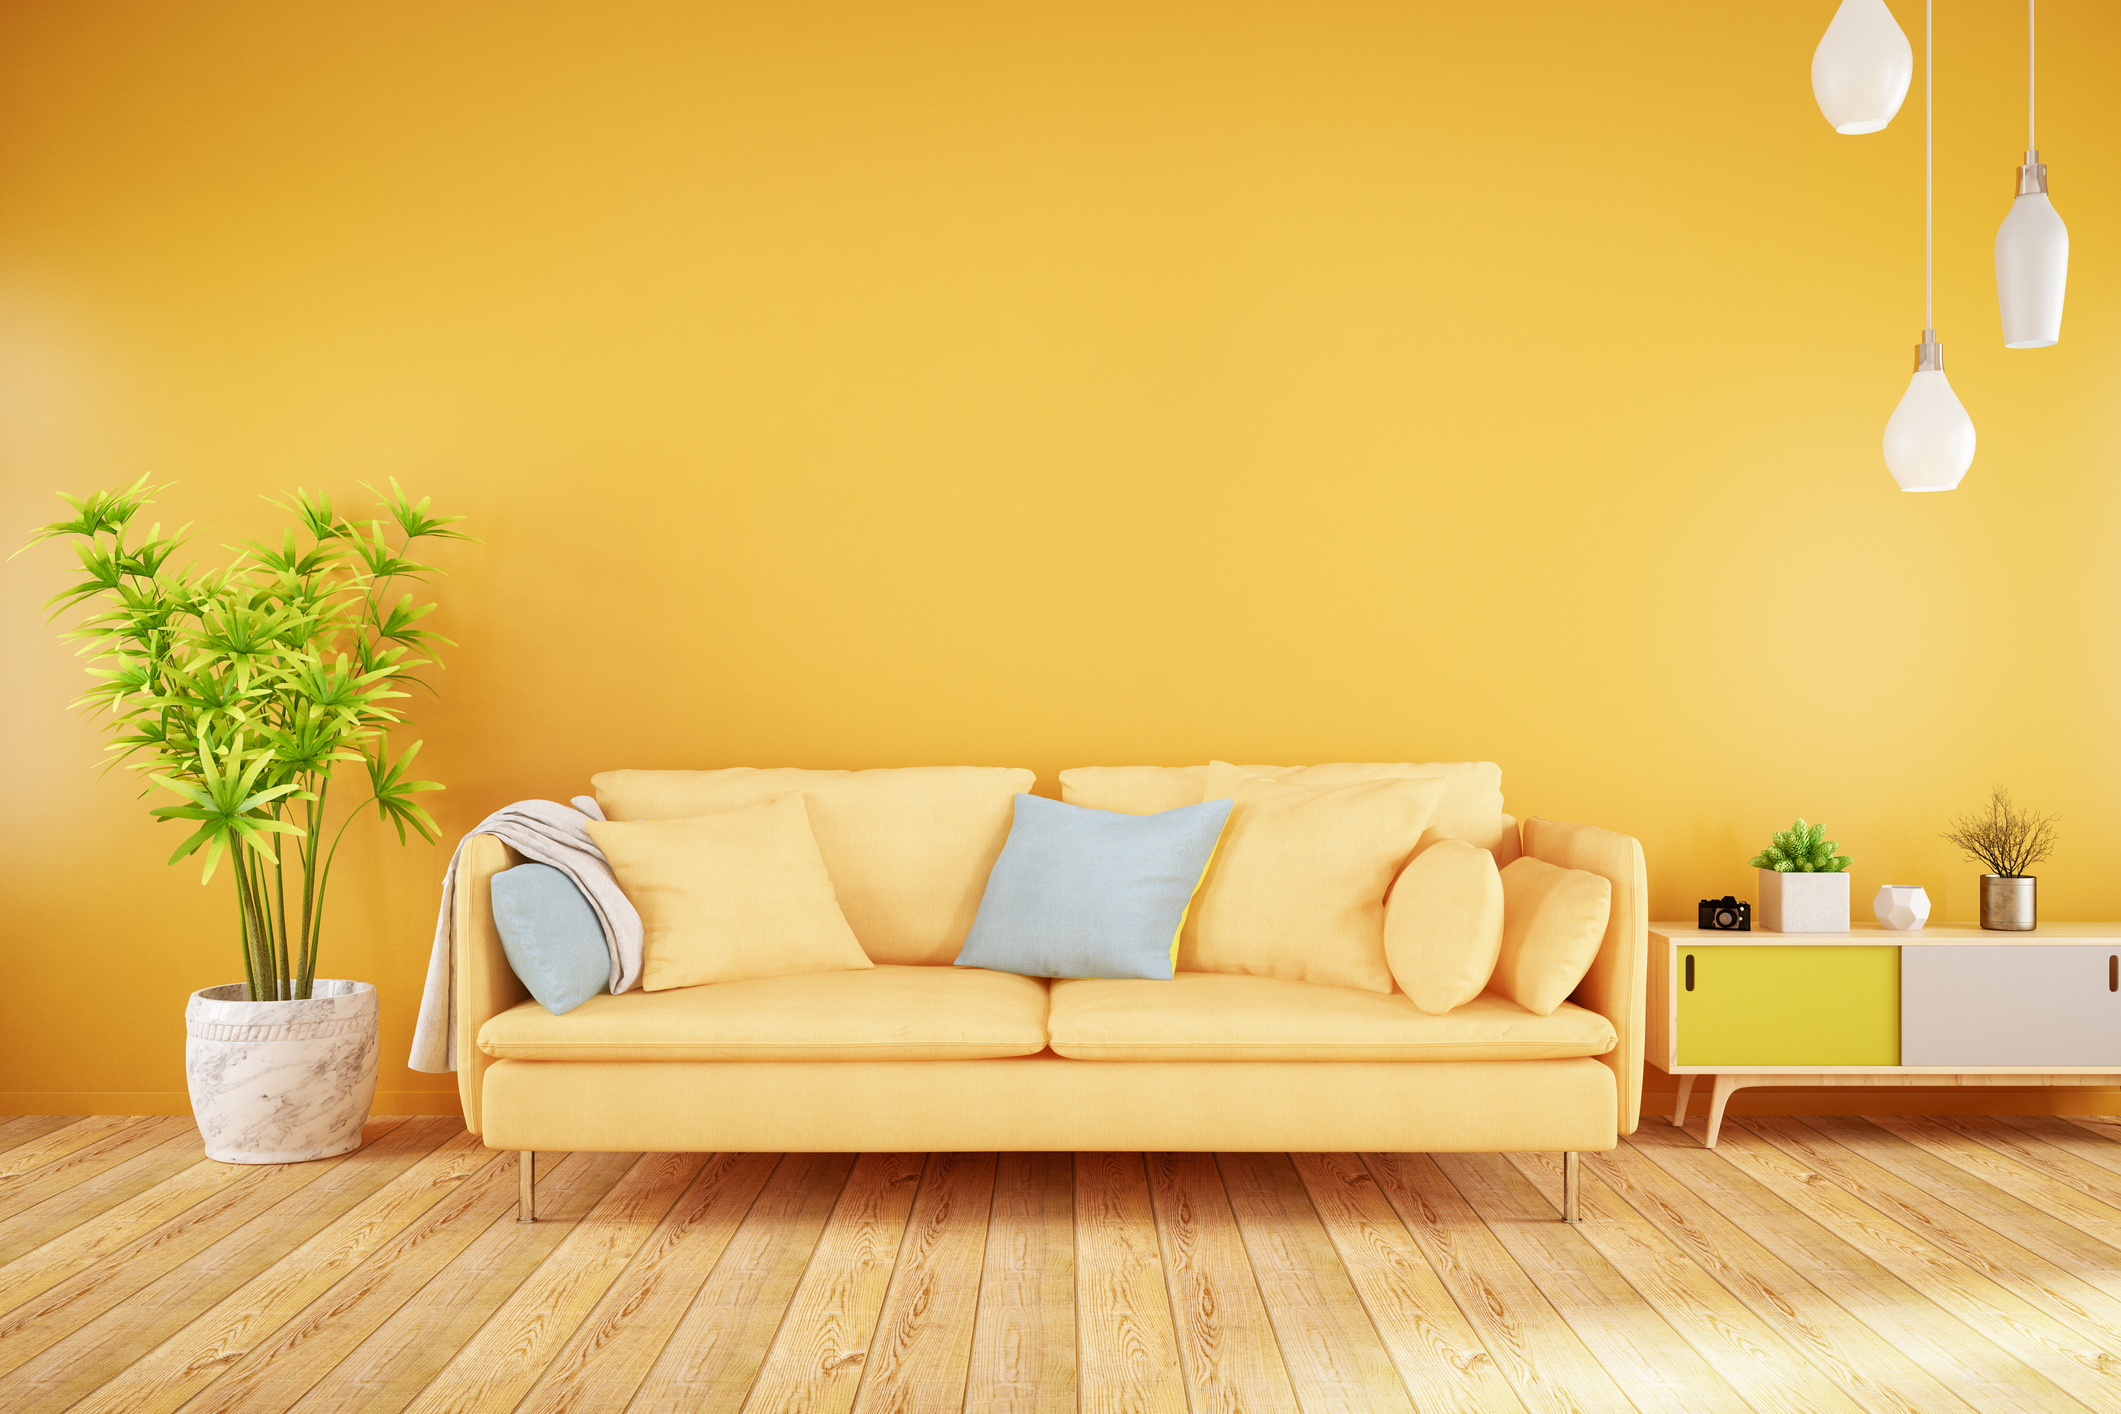
Painting the entire room might not be the most out-there idea, but it’s definitely worth it. Whether you go for that modern farmhouse look with a classy off-white or something that makes more of a statement, it can seriously change your space.
What You'll Need
- Paint testers
- Paint
- Paint brushes
- Dust sheets
- Paint trays
- Rollers
- Frog tape
- Painting clothes
- Disposable gloves
How to Paint the Whole Room
- First things first, you’ll want to decide on a paint colour. The best and easiest way is to head to your local DIY store and check out their paint testers.
A handy tip: if you’re painting your entire room, paint a swatch of each tester colour on each wall - this way you’ll be able to see the colour at all angles and in all aspects of light.
- Once you’ve decided on your colour, move any furniture away from the walls, cover any carpets or flooring, and be sure to put on some clothes that you don’t care about ruining.
- To avoid getting paint on ceilings, skirting boards, any plug sockets or light switches, use painter's tape. Simply stick your tape around your ceiling, skirting boards, switches and plugs to protect them and to help you get that super crisp paint line.
Something to note: In the past, I’ve used both cheaper alternatives and the green frog tape. Personally, I’ve found the green frog tape doesn’t lift the existing paint.
A handy tip: purchase some disposable gloves from your local supermarket to wear while you paint. These come in super handy when protecting your skin from any paint splashes which makes the clean-up process so much faster.
- Typically when painting, you’ll want to paint the border of your wall using a paintbrush, and then fill in the rest of the wall using a roller (or vice versa).
- Paint the recommended number of coats (typically 2-3 but check your paint tin) and allow your paint to fully dry.
Something to note: after you’ve painted your first coat, it may look patchy and uneven. Don’t panic, this is to be expected. By your final coat, the colour should be even.
- After your final coat has been painted, remove your painter's tape while the paint is still wet to get that crisp edge. Be careful not to let your tape touch the walls or anything around because chances are it has paint on too.
- If you’re happy with your results, put your room back to how it was before, and enjoy your nicely painted space!
Add a Feature Wall
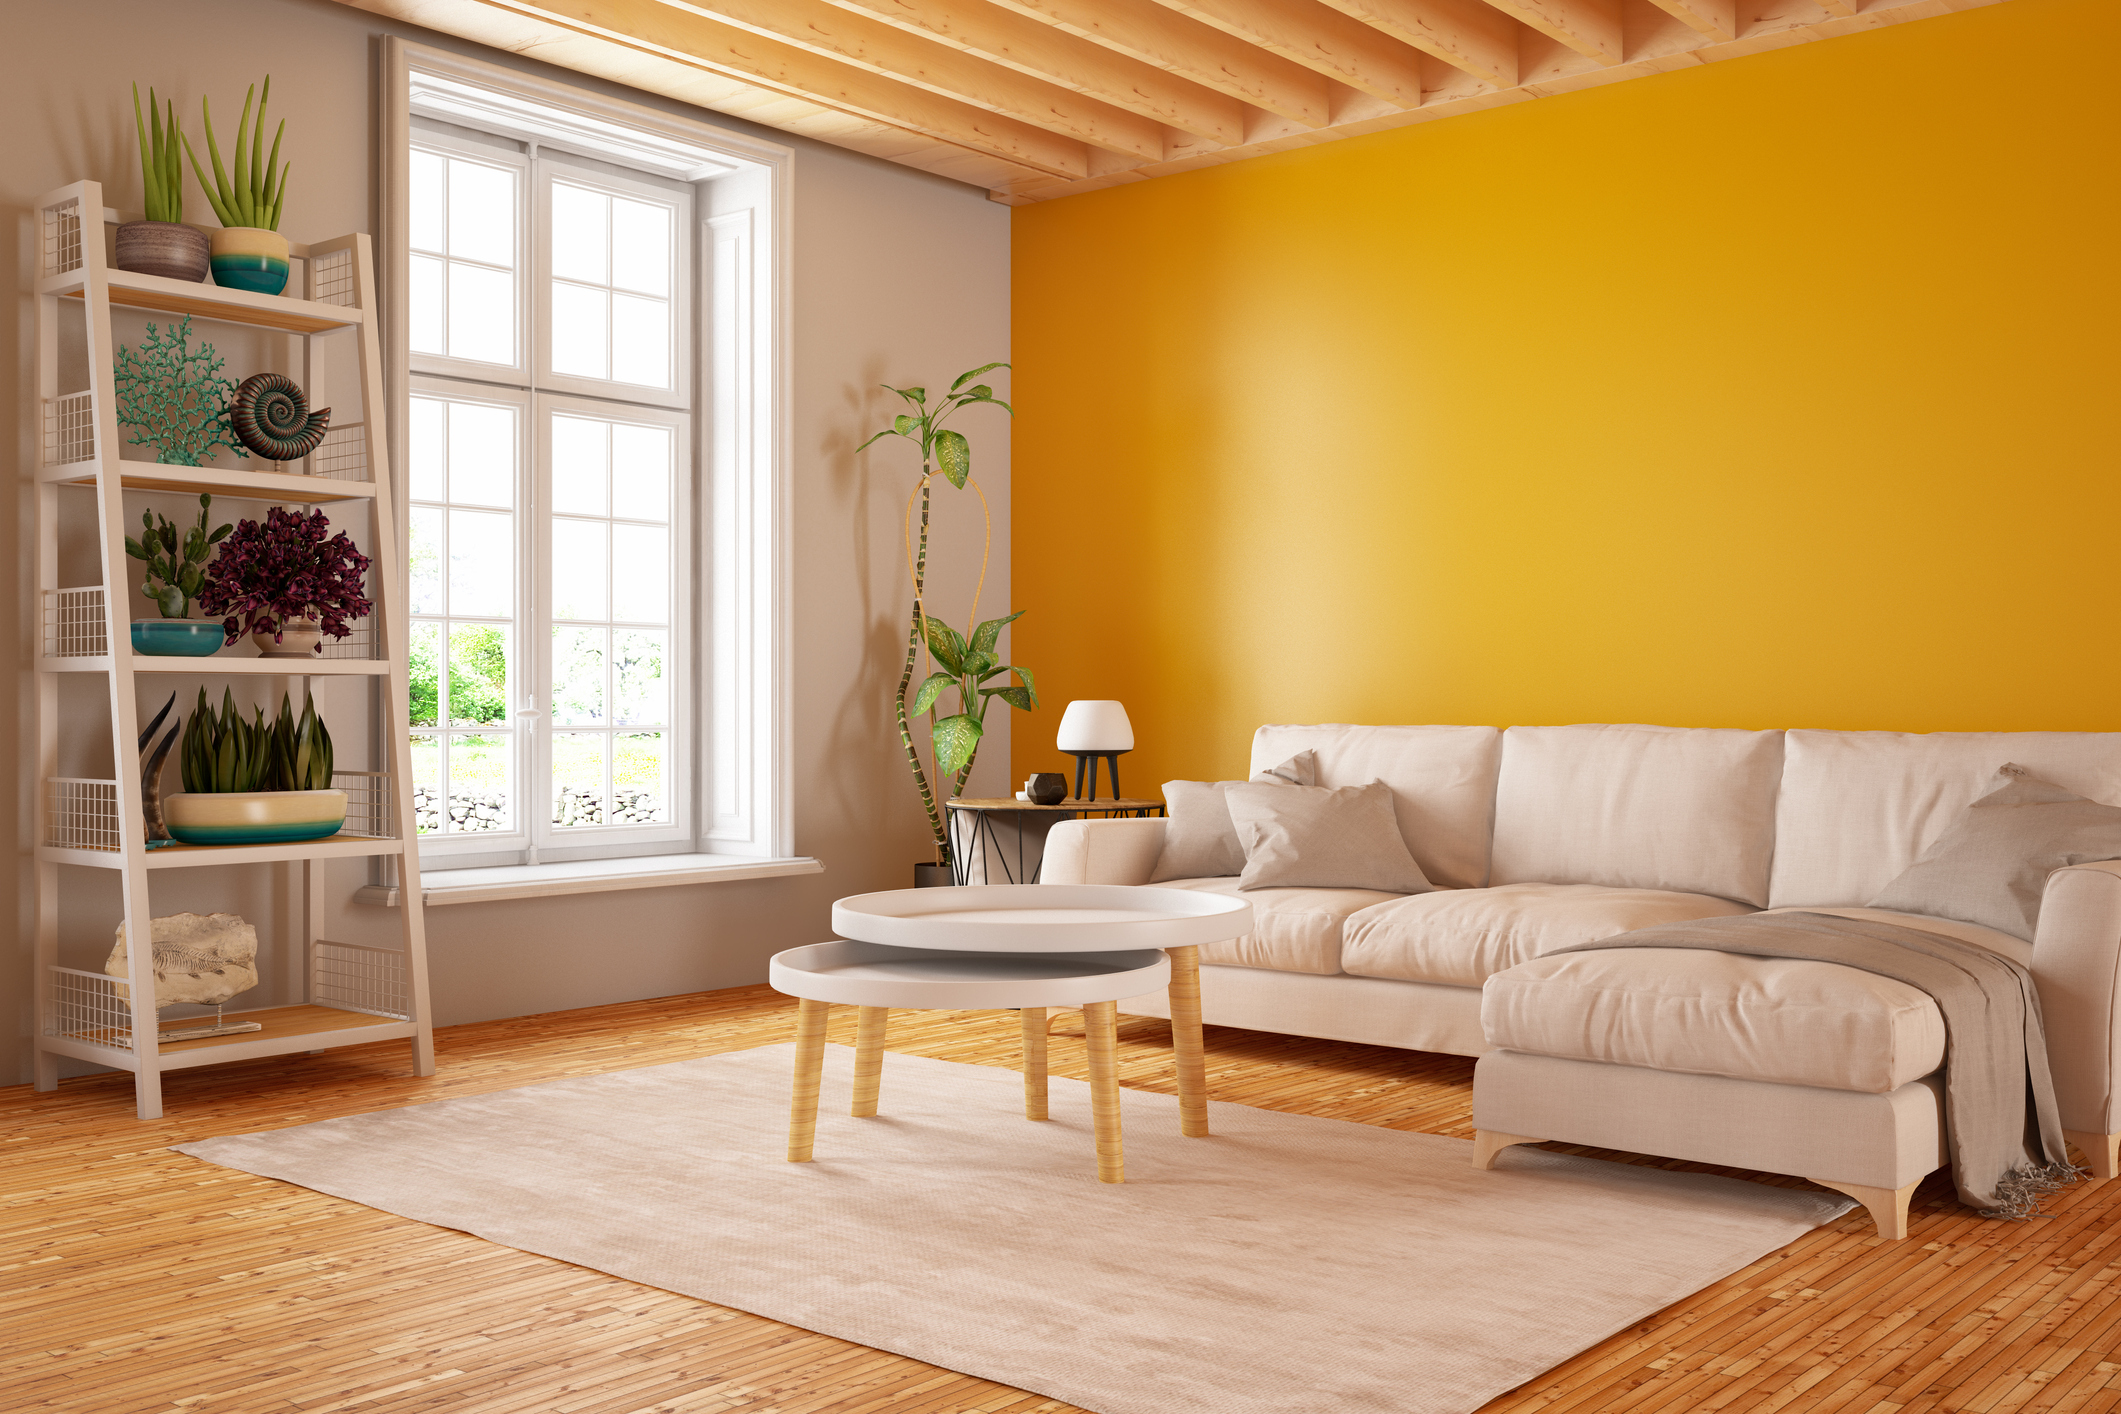
If you’ve got a box room that’s white and a bit lacklustre, a feature wall might be just what you need. Feature walls are a great way to draw your eye to a focal point and you can use them to make aspects of your room stand out. Whether that’s a fireplace, an archway, or simply the wall behind your tv, it can help to separate spaces and add some structure to a room. If you’re a bit intimidated by colour, fear not - feature walls don’t have to be bold to be effective.
What You'll Need
- Paint testers
- Paint
- Paint brushes
- Dust sheets
- Paint trays
- Rollers
- Frog tape
- Painting clothes
- Disposable gloves
How to Paint a Feature Wall
- First things first, decide on a paint colour so head to your local DIY store and check out their paint testers.
- Once you’ve decided on your colour, move any furniture away from the walls, cover any carpets or flooring and be sure to put on some clothes that you don’t care about ruining.
- To avoid getting paint on ceilings, skirting boards, plug sockets, light switches and adjacent walls, use painter's tape.
A handy tip: purchase some disposable gloves from your local supermarket to wear while you paint. These come in super handy when protecting your skin from any paint splashes which makes the clean-up process so much faster.
- Using a paintbrush, paint the border of the wall and then paint the remaining wall with a roller.
- Paint the recommended number of coats (typically 2-3 but check your paint tin) and allow your paint to fully dry.
Something to note: after you’ve painted your first coat, it may look patchy and uneven. Don’t panic, this is to be expected. By your final coat, the colour should be even.
- After your final coat has been painted, remove your painter's tape while the paint is still wet to get that crisp edge. Be careful not to let your tape touch the walls or anything around - it might have paint on too.
- If you’re happy with your results, put your room back to how it was before, and enjoy your enhanced space!
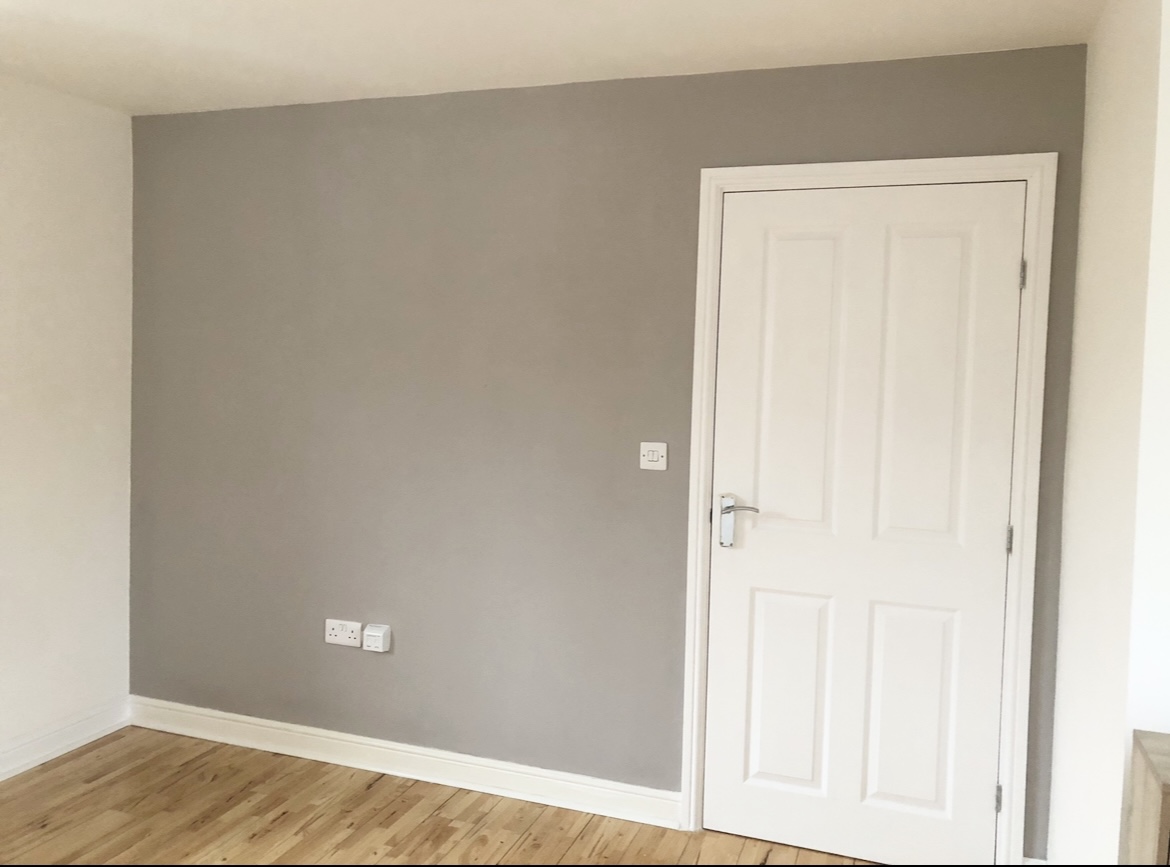
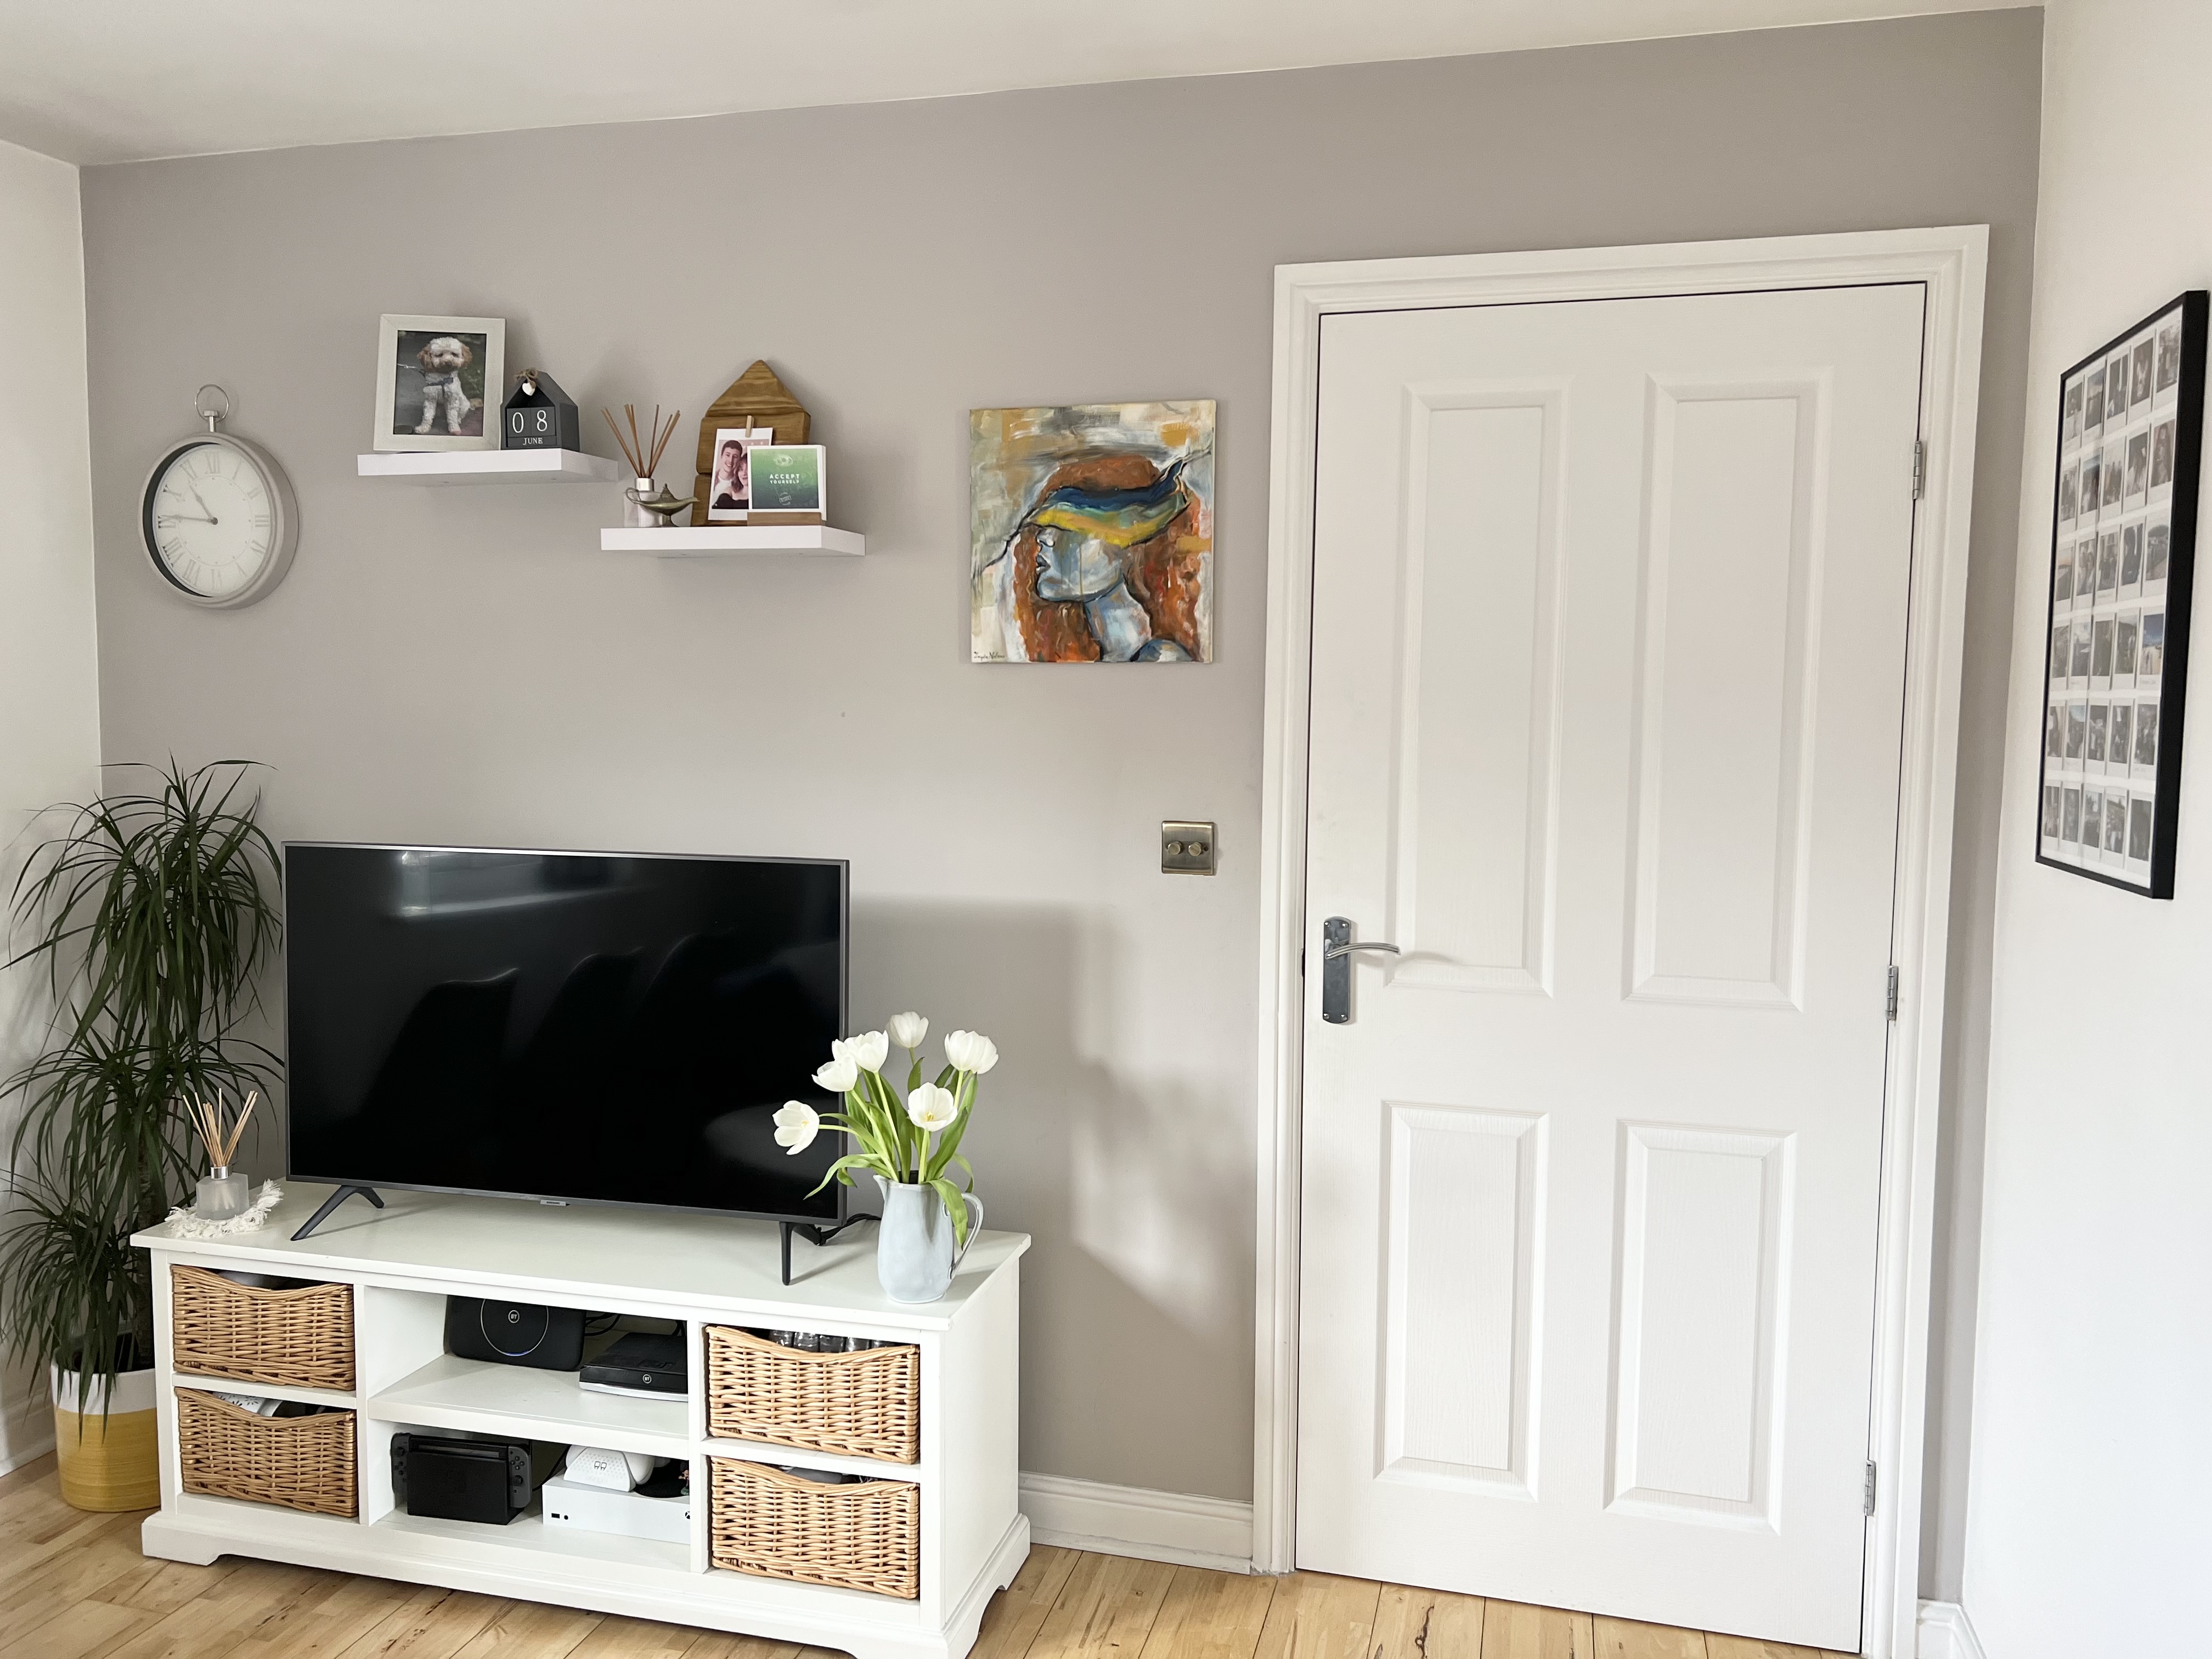
Below are some images of the feature wall in my home including a before and after, and how I decorated it.
Go Bold With a Painted Ceiling
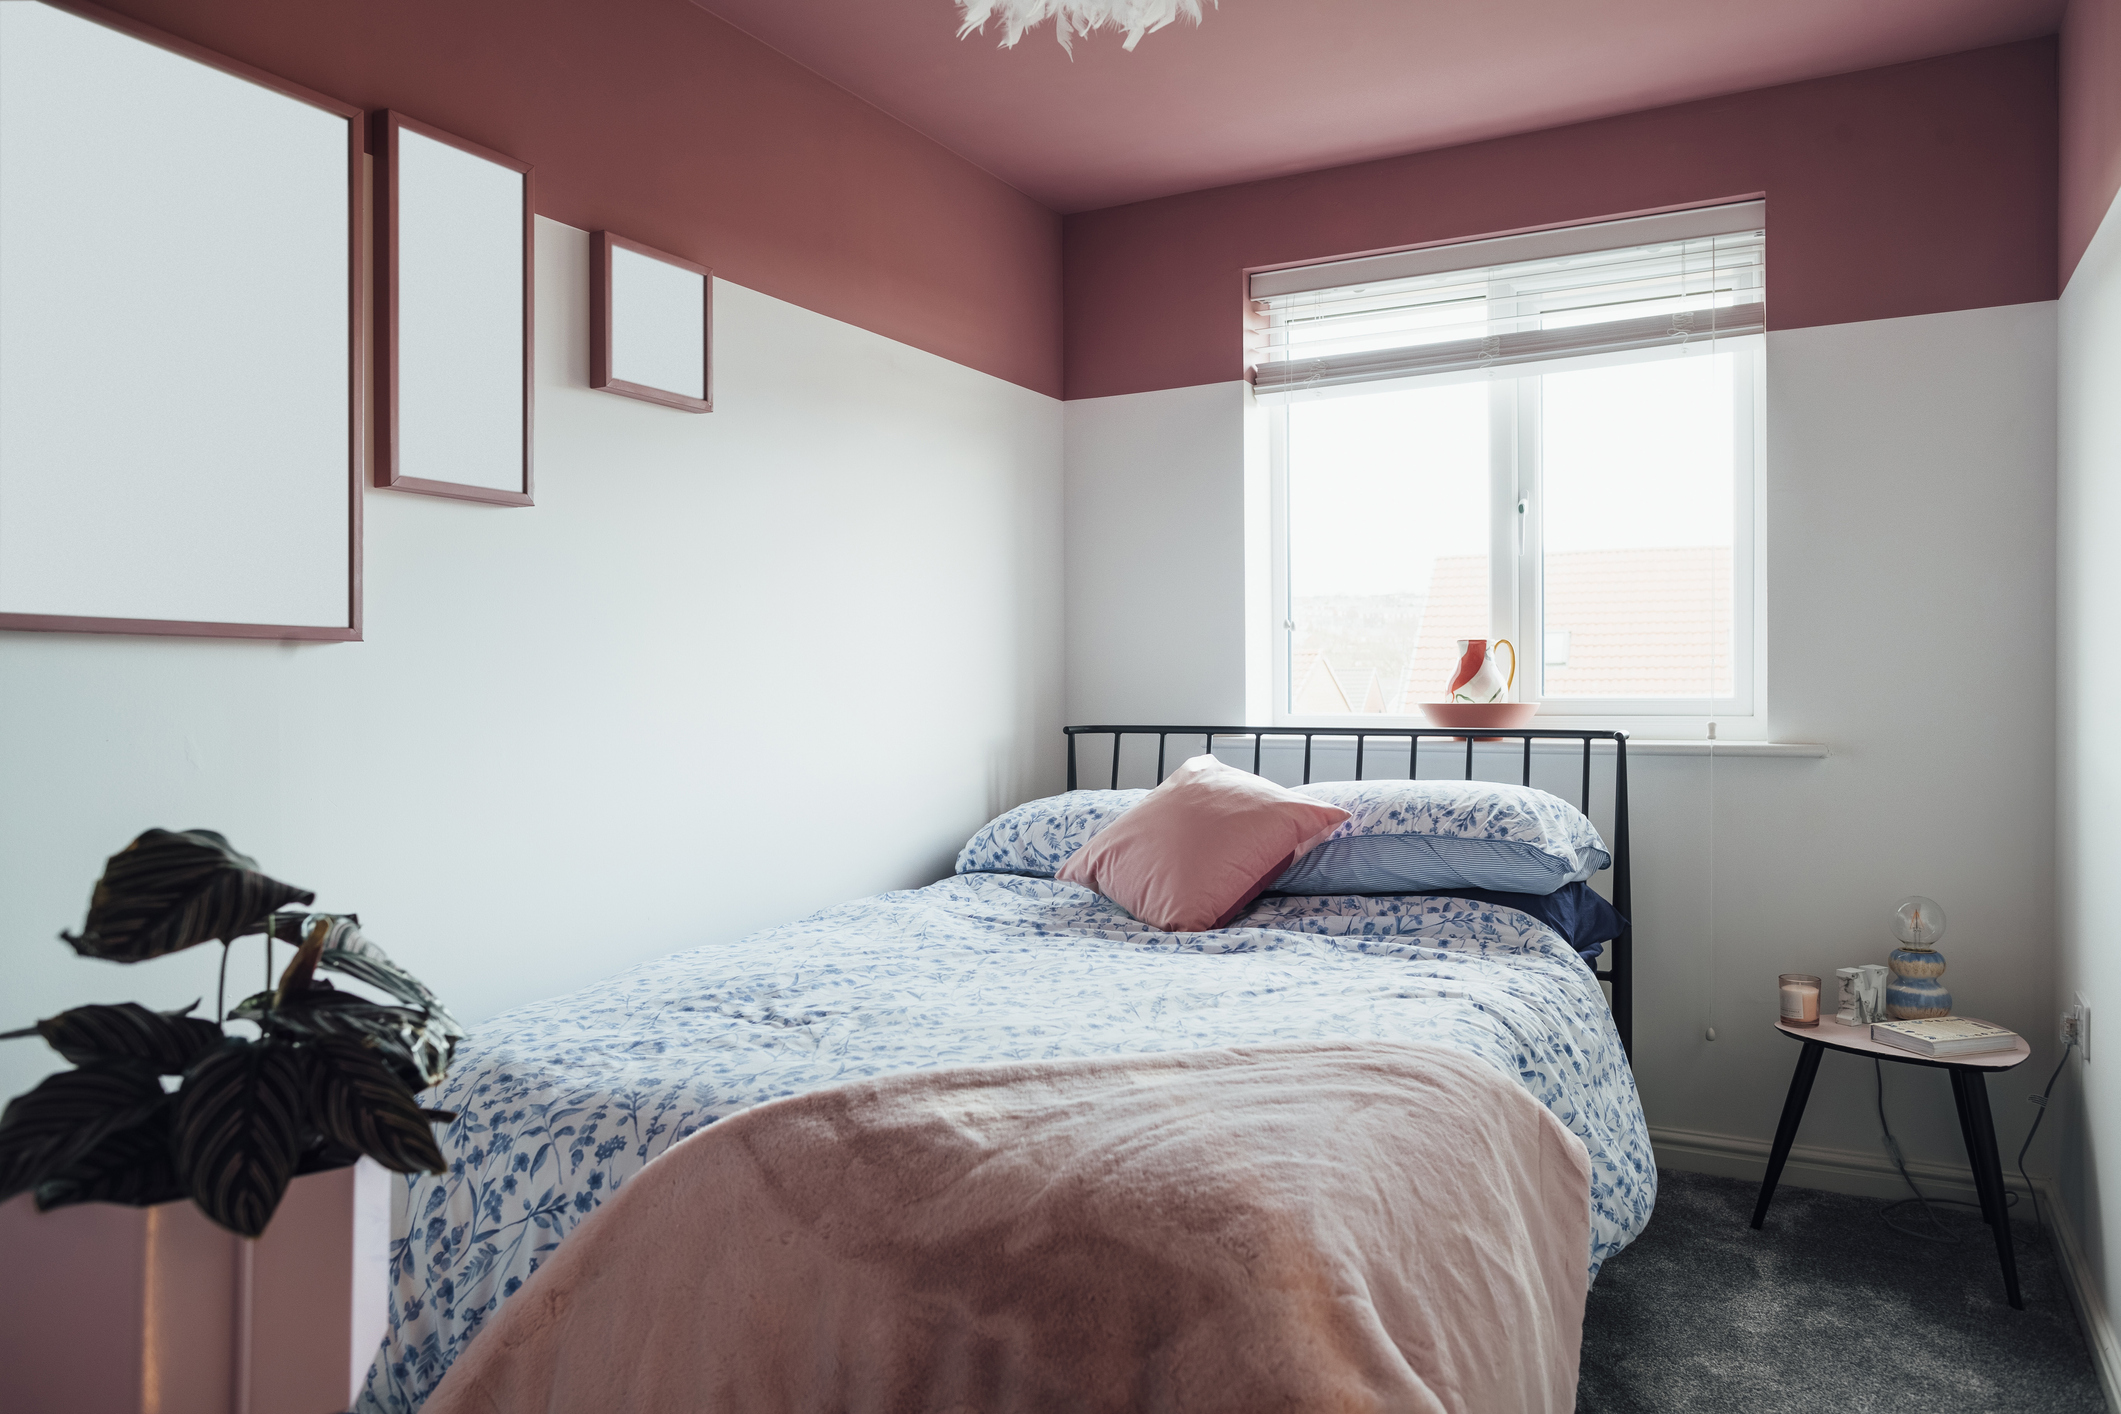
We’re officially taking it up a notch! If you fancy trying something a bit out there, then a painted ceiling might be just the thing. A painted ceiling might feel a bit intimidating, but it’s a super fun and exciting way to really make your space interesting. You can use it the same way as a feature wall, to help divide up your room and draw attention to details in your space. Some of the most effective painted ceilings use bright colours, so don’t be afraid to be bold with this one.
What You'll Need
- Paint testers
- Paint
- Paint brushes
- Dust sheets
- Paint trays
- Rollers
- Frog tape
- Painting clothes
- Disposable gloves
- Old hat
How to Paint a Ceiling
- You know the drill by now - first, you need to decide on a paint colour. Take a trip down to your local DIY store and check out their paint testers.
- Once you’ve decided on your colour, move any furniture away from the walls, cover it along with any carpets or flooring and be sure to put on some clothes that you don’t care about ruining.
- With this one, you’ll want to avoid getting paint on your walls by using painter's tape.
A handy tip: if you’ve got an old cap that you don’t wear anymore, then be sure to put it on when painting a ceiling. As you roll the paint on, it will likely splash onto your hair and face which can be a bit annoying to wash off. Wear a hat and you’ll be able to protect yourself from any flicks or spills.
- Use a paintbrush to paint the edges of your ceiling, and then a roller for the rest of the space.
- Paint the recommended number of coats (typically 2-3 but check your paint tin) and allow your paint to fully dry.
- After your final coat has been painted, remove your painter's tape while the paint is still wet to get that crisp edge. Be careful not to let your tape touch the walls or anything around.
- If you’re happy with your results, put your room back to how it was before, and enjoy your enhanced space!
Something to note: You can use the exact same method to create similar looks, including half-painted walls, dropped ceilings, and more!
Below are images of the painted ceiling in my lounge, including a before and after.
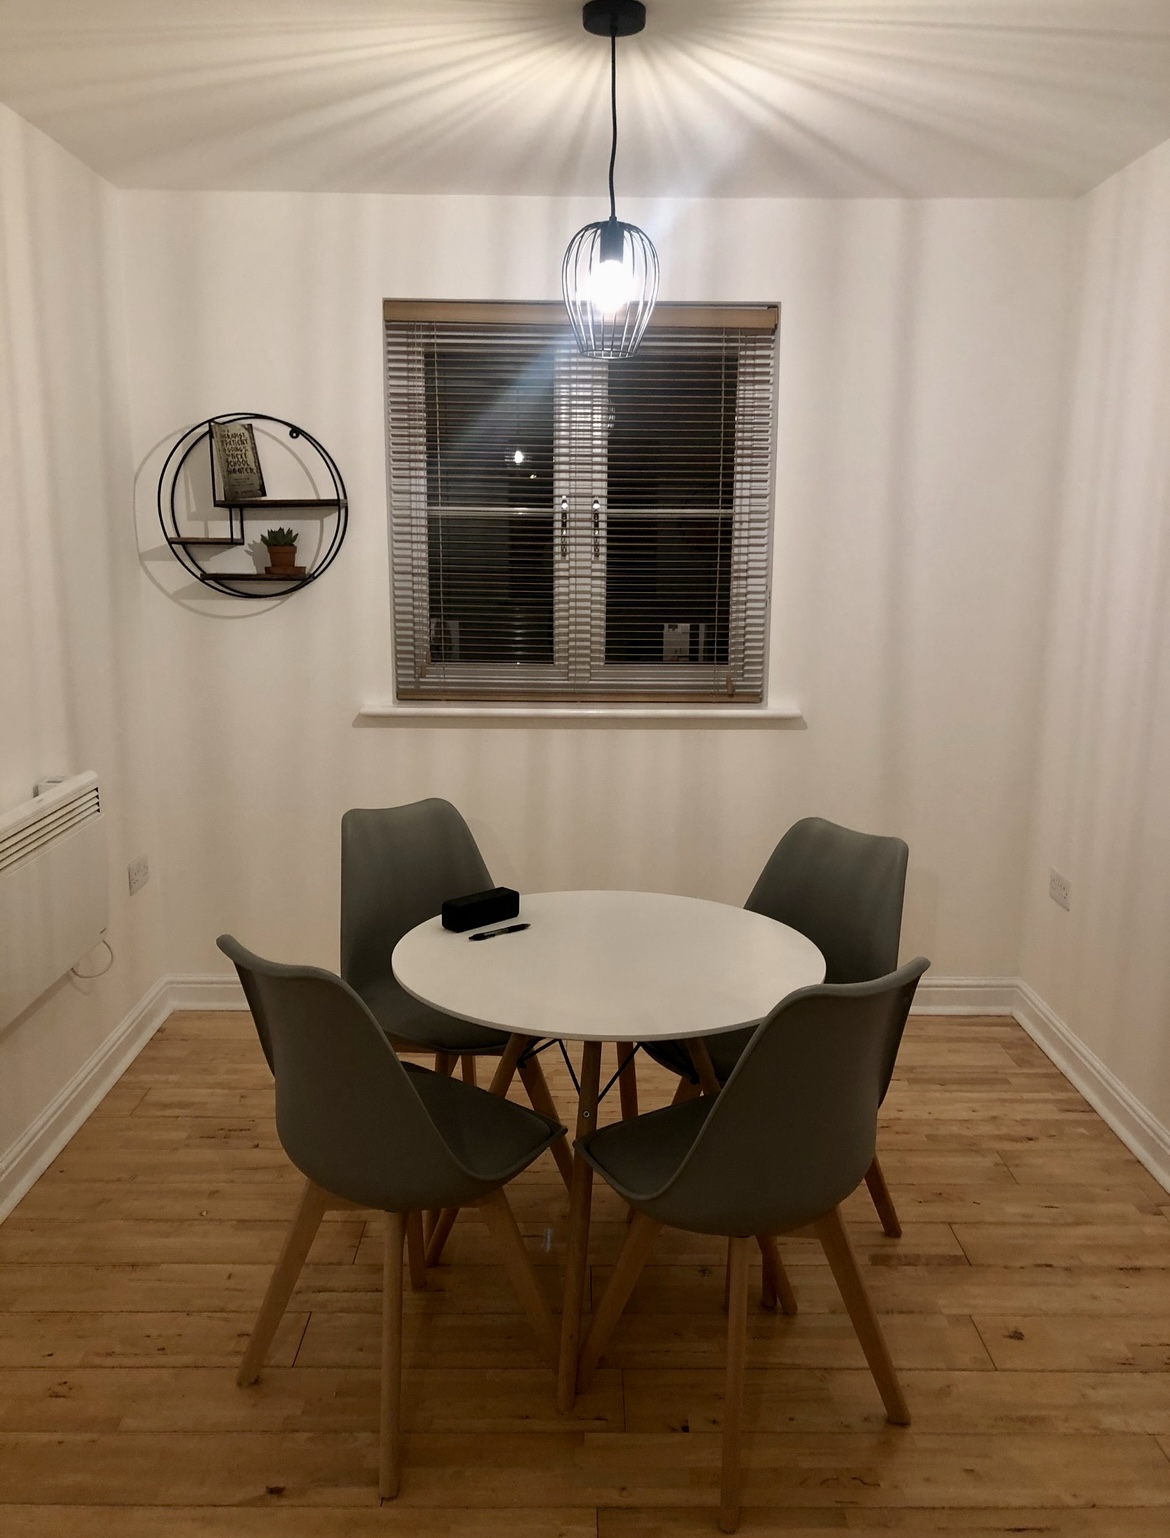
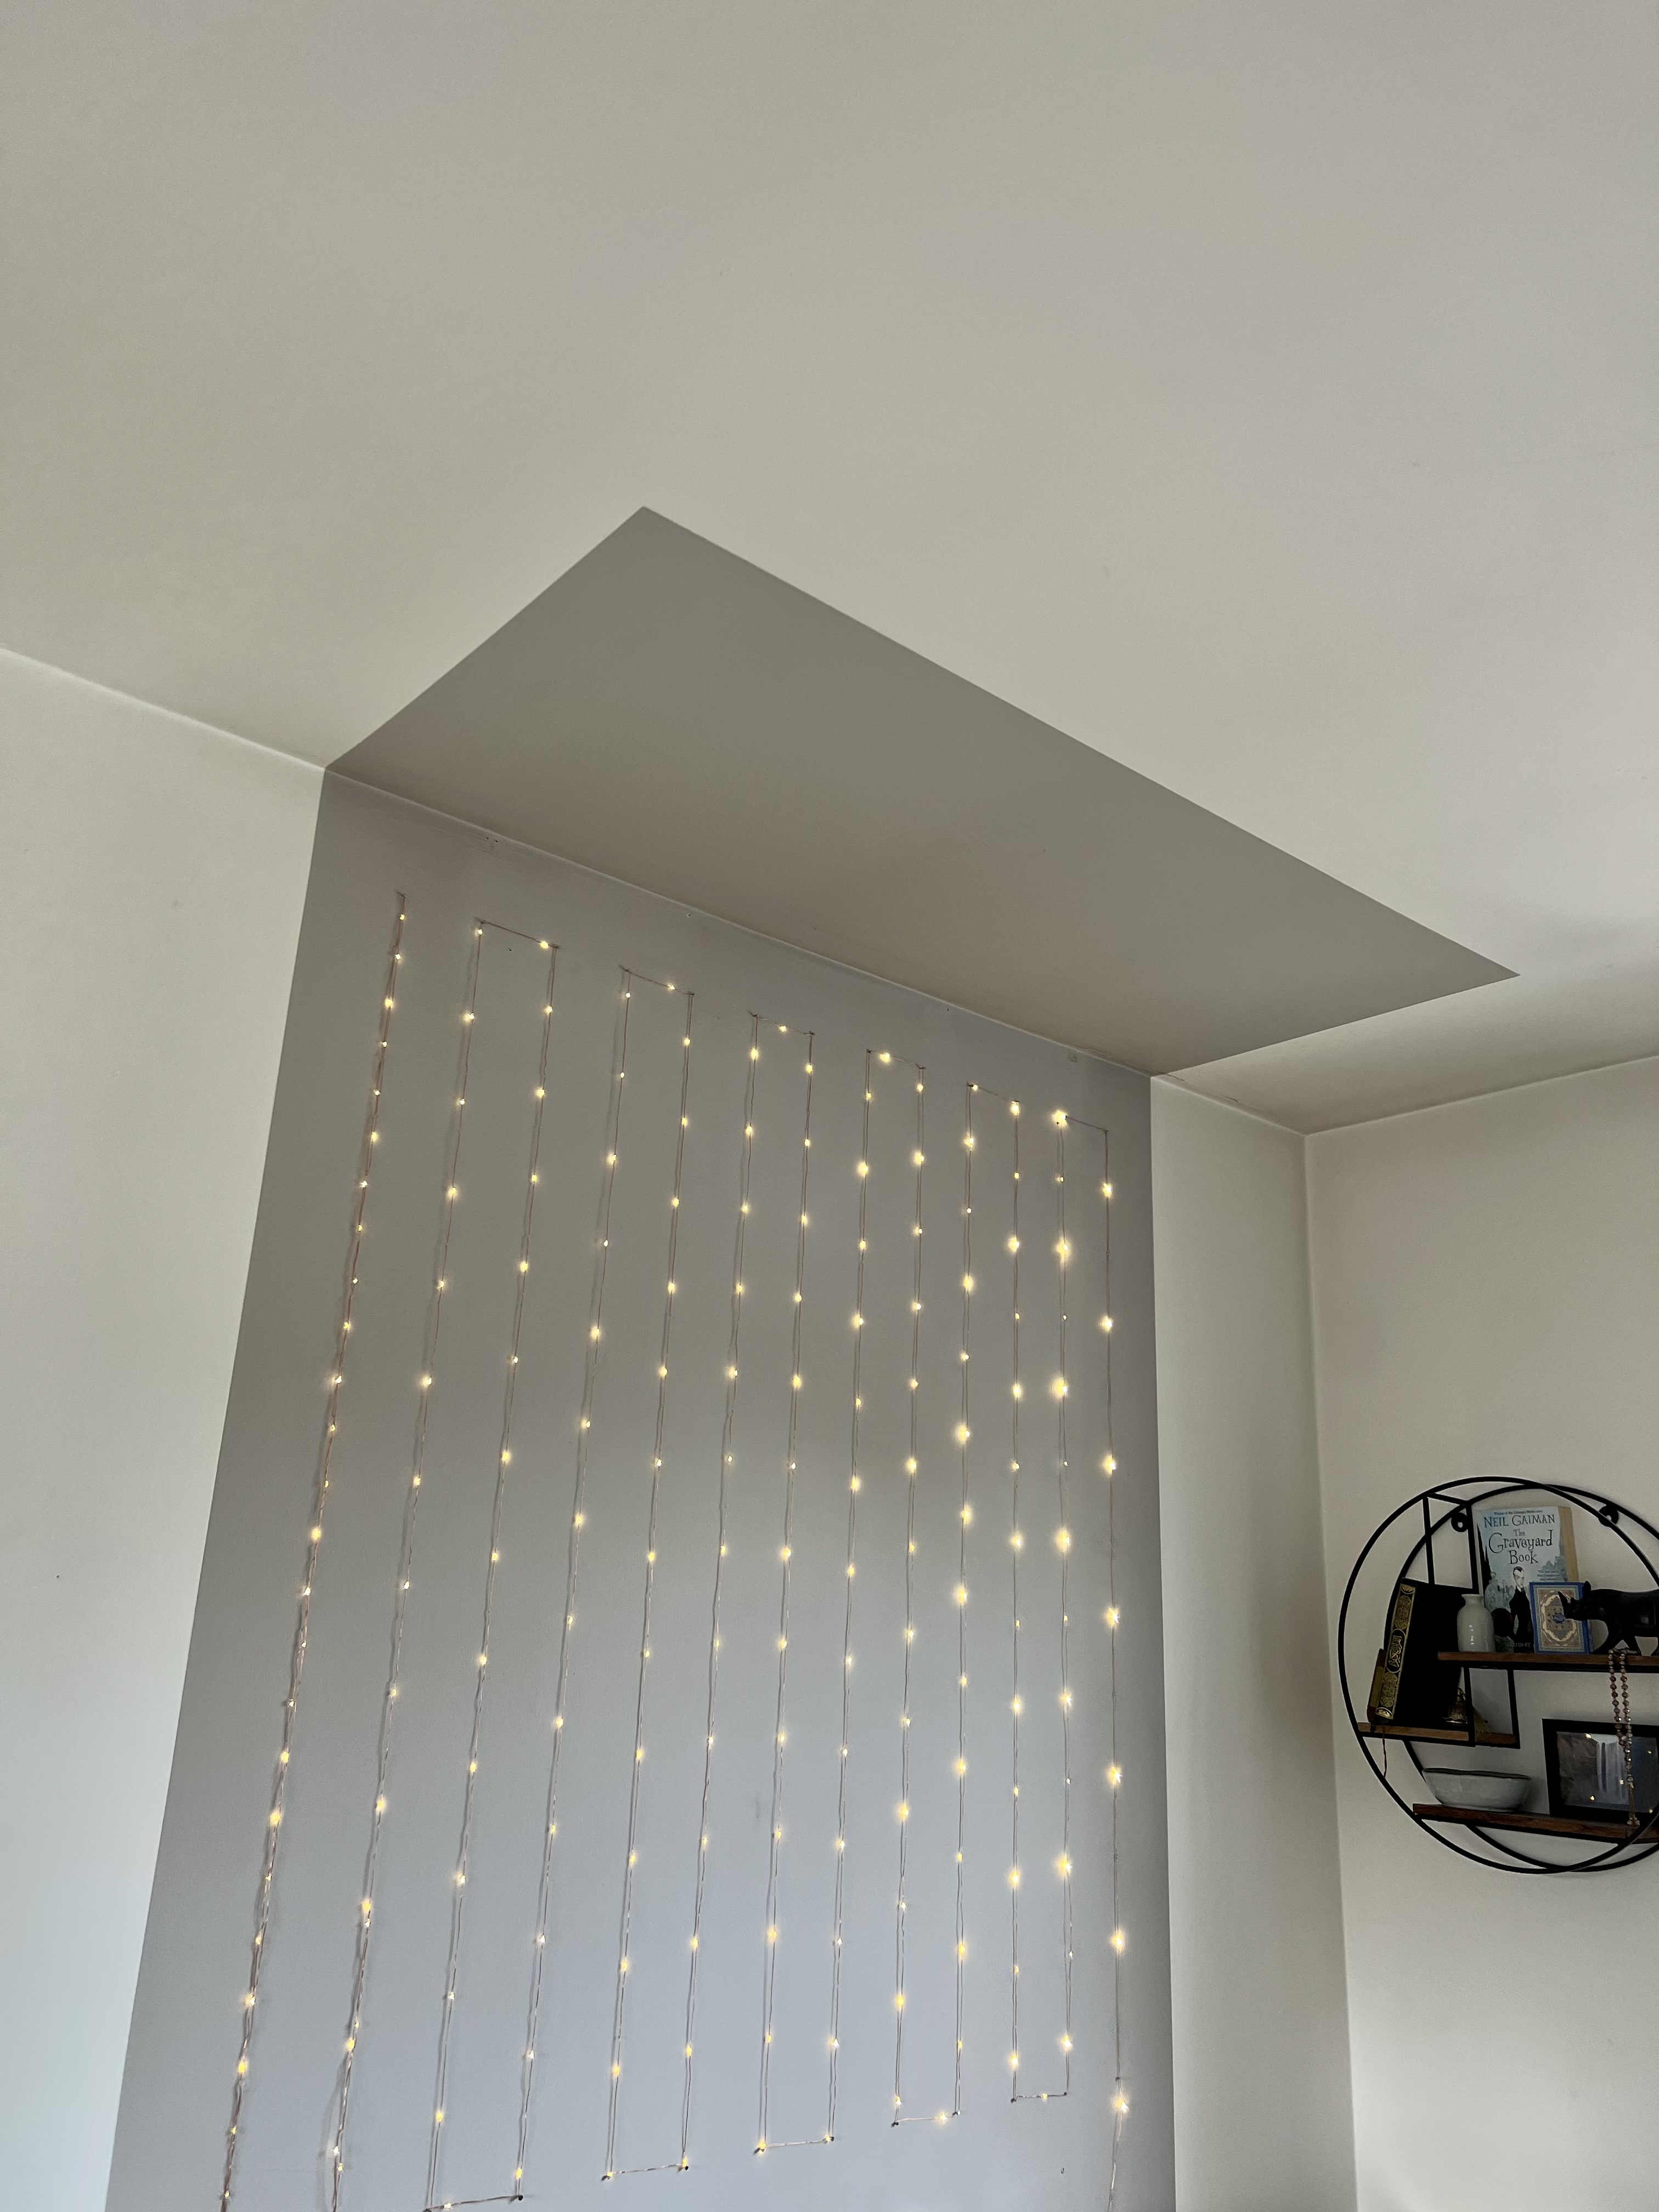
As you’ll see in these images, I used the effect of a feature wall as well as a painted ceiling to highlight the shape of the wall. In doing this, it makes the space feel cosy and more interesting than a blank white canvas. To do this, I simply used the painter’s tape to create the shape I wanted and then removed the tape after my final coat.
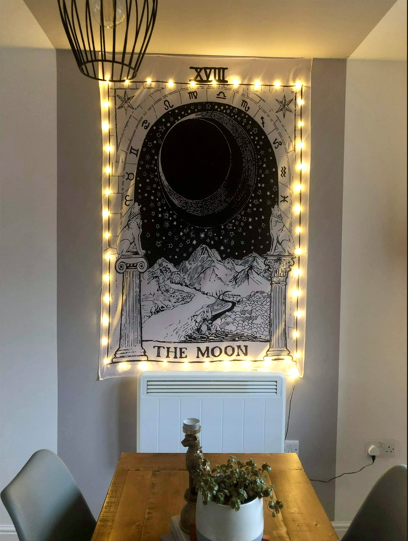
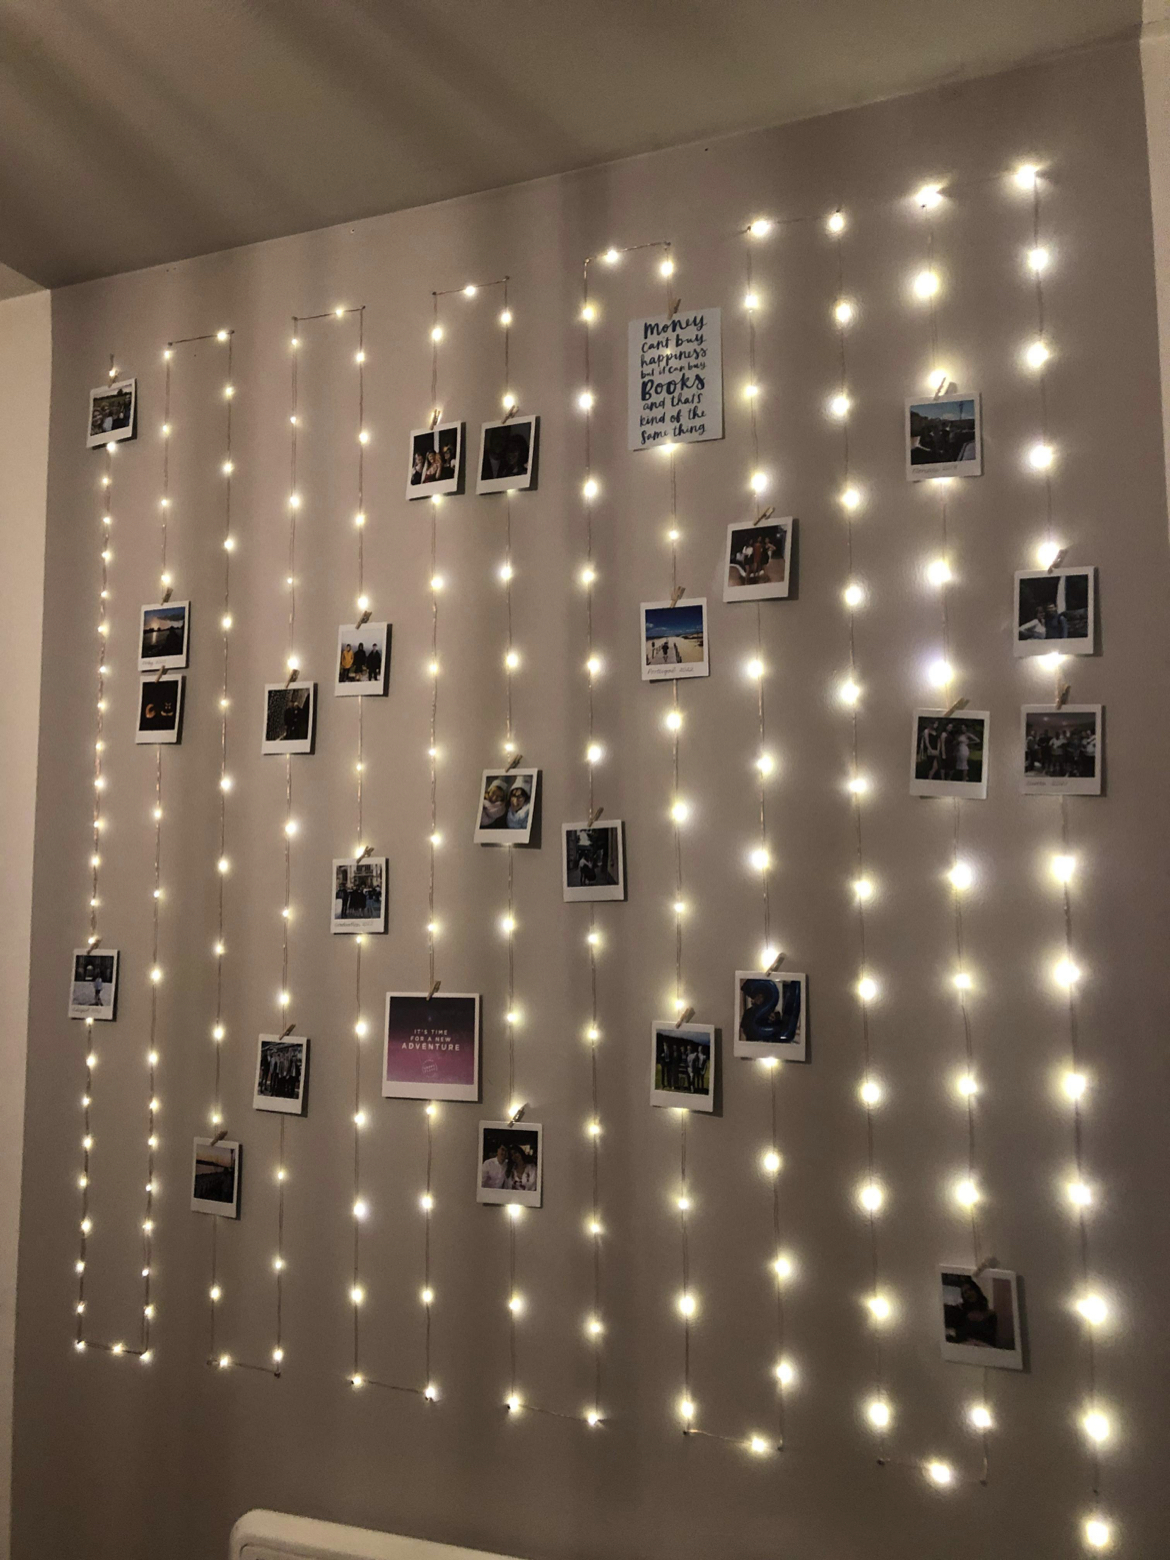
Below are other examples of how I decorated the space.
Get Creative With an Arch
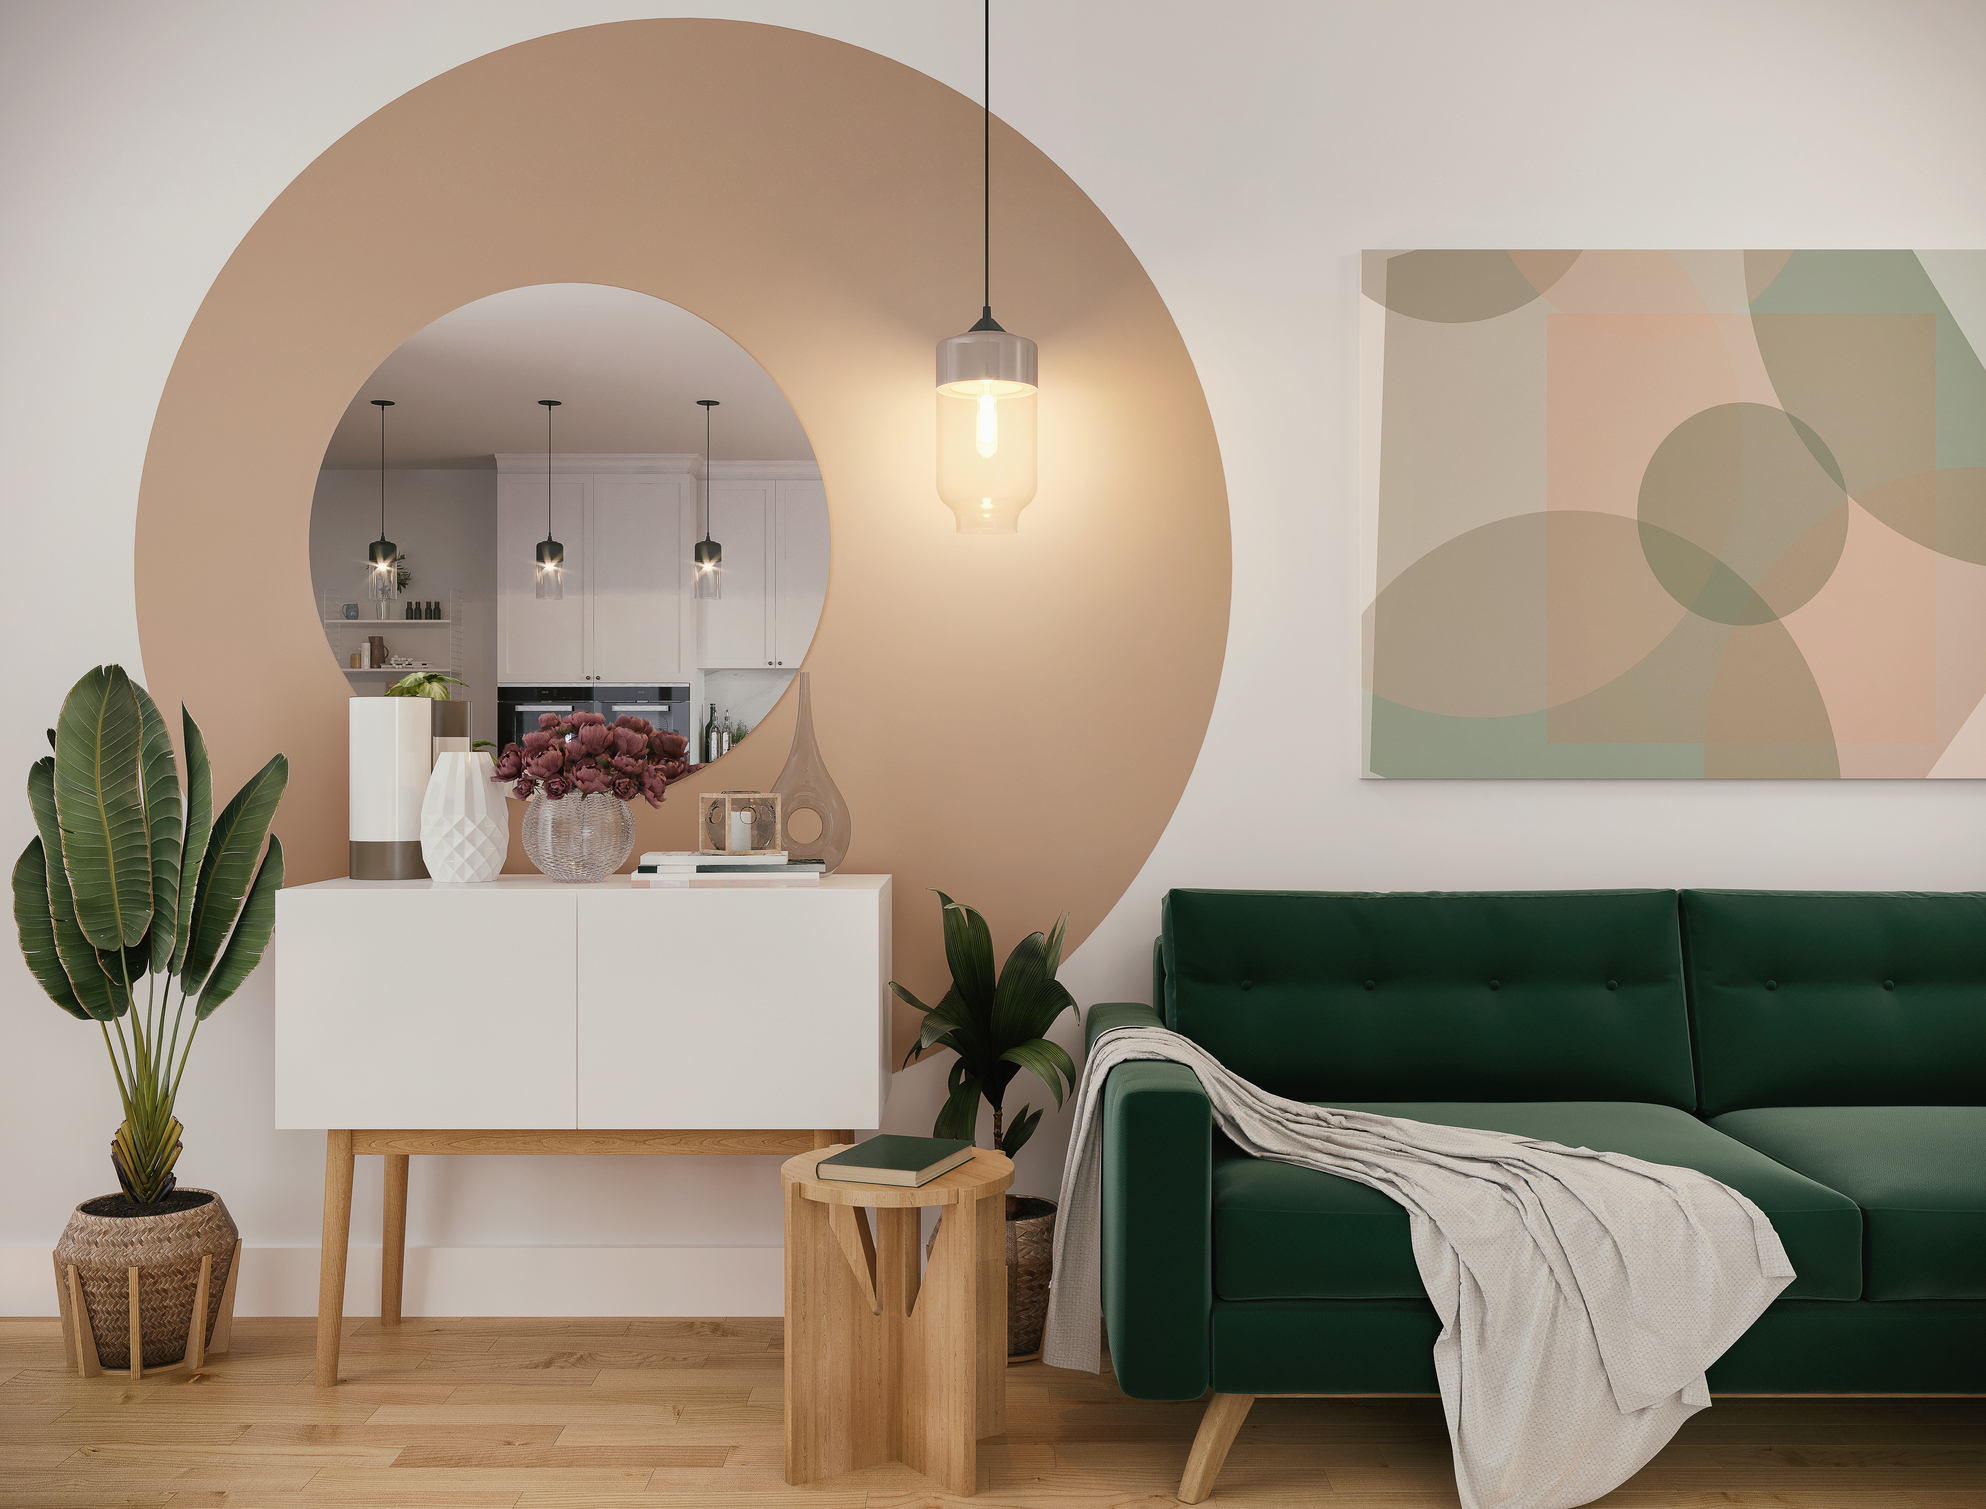
This is my personal favourite way to really spice up your space. It takes a bit of a steady hand, but I can assure you that it’s worth it for the finish. In my own home, my lounge has a very long, flat wall that made decorating and furnishing really difficult. We use this room as half a lounge and half a dining room, so I wanted a way to try to create sections in the room. If you’ve got a similar problem, then arches might be worth a try.
What You'll Need
- Paint testers
- Paint
- Paint brushes
- Dust sheets
- Paint trays
- Rollers
- Frog tape
- Painting clothes
- Disposable gloves
- Pencil
- Piece of string
How to Paint an Arch
- Pick your paint colour. Head down to your nearest DIY store and take a look at their paint testers.
- Once you’ve decided on your colour, move any furniture away from the walls, cover any carpets or flooring, and be sure to put on some clothes that you don’t care about ruining.
- When it comes to creating the shape of your arch, you’ll want to start with the sides. Mark your lines, making sure that they are straight, and at your preferred height and width.
- Measure the distance between the two lines, and mark halfway.
A handy tip: tie your string around your pencil. You can use this to help you create the round part of your arch.
- Take your excess string in your non-dominate hand (the one you won’t be drawing your arch with), and hold it on the halfway mark you just made.
- With the pencil in your other hand, make sure that your string is taut, and draw your arch from one side to the other. You can find lots of video tutorials online to help you with this part.
- Once you’re happy with the shape of your arch, use painter's tape on the sides to help you create a neat edge.
- Using a paintbrush, paint the border of your arch, taking extra care when free handing the round edge. Then fill in the rest using a roller.
- Paint the recommended number of coats (typically 2-3 but check your paint tin) and allow your paint to fully dry.
- After your final coat has been painted, remove your painter's tape while the paint is still wet to get that crisp edge. Be careful not to let your tape touch the walls or anything around because chances are it has paint on too.
- If you’re happy with your results, put your room back to how it was before, and enjoy your modern and sleek space!
Below are some images of the arch in my own home, including a before and after, some additional arches, and some ways that I have decorated them.
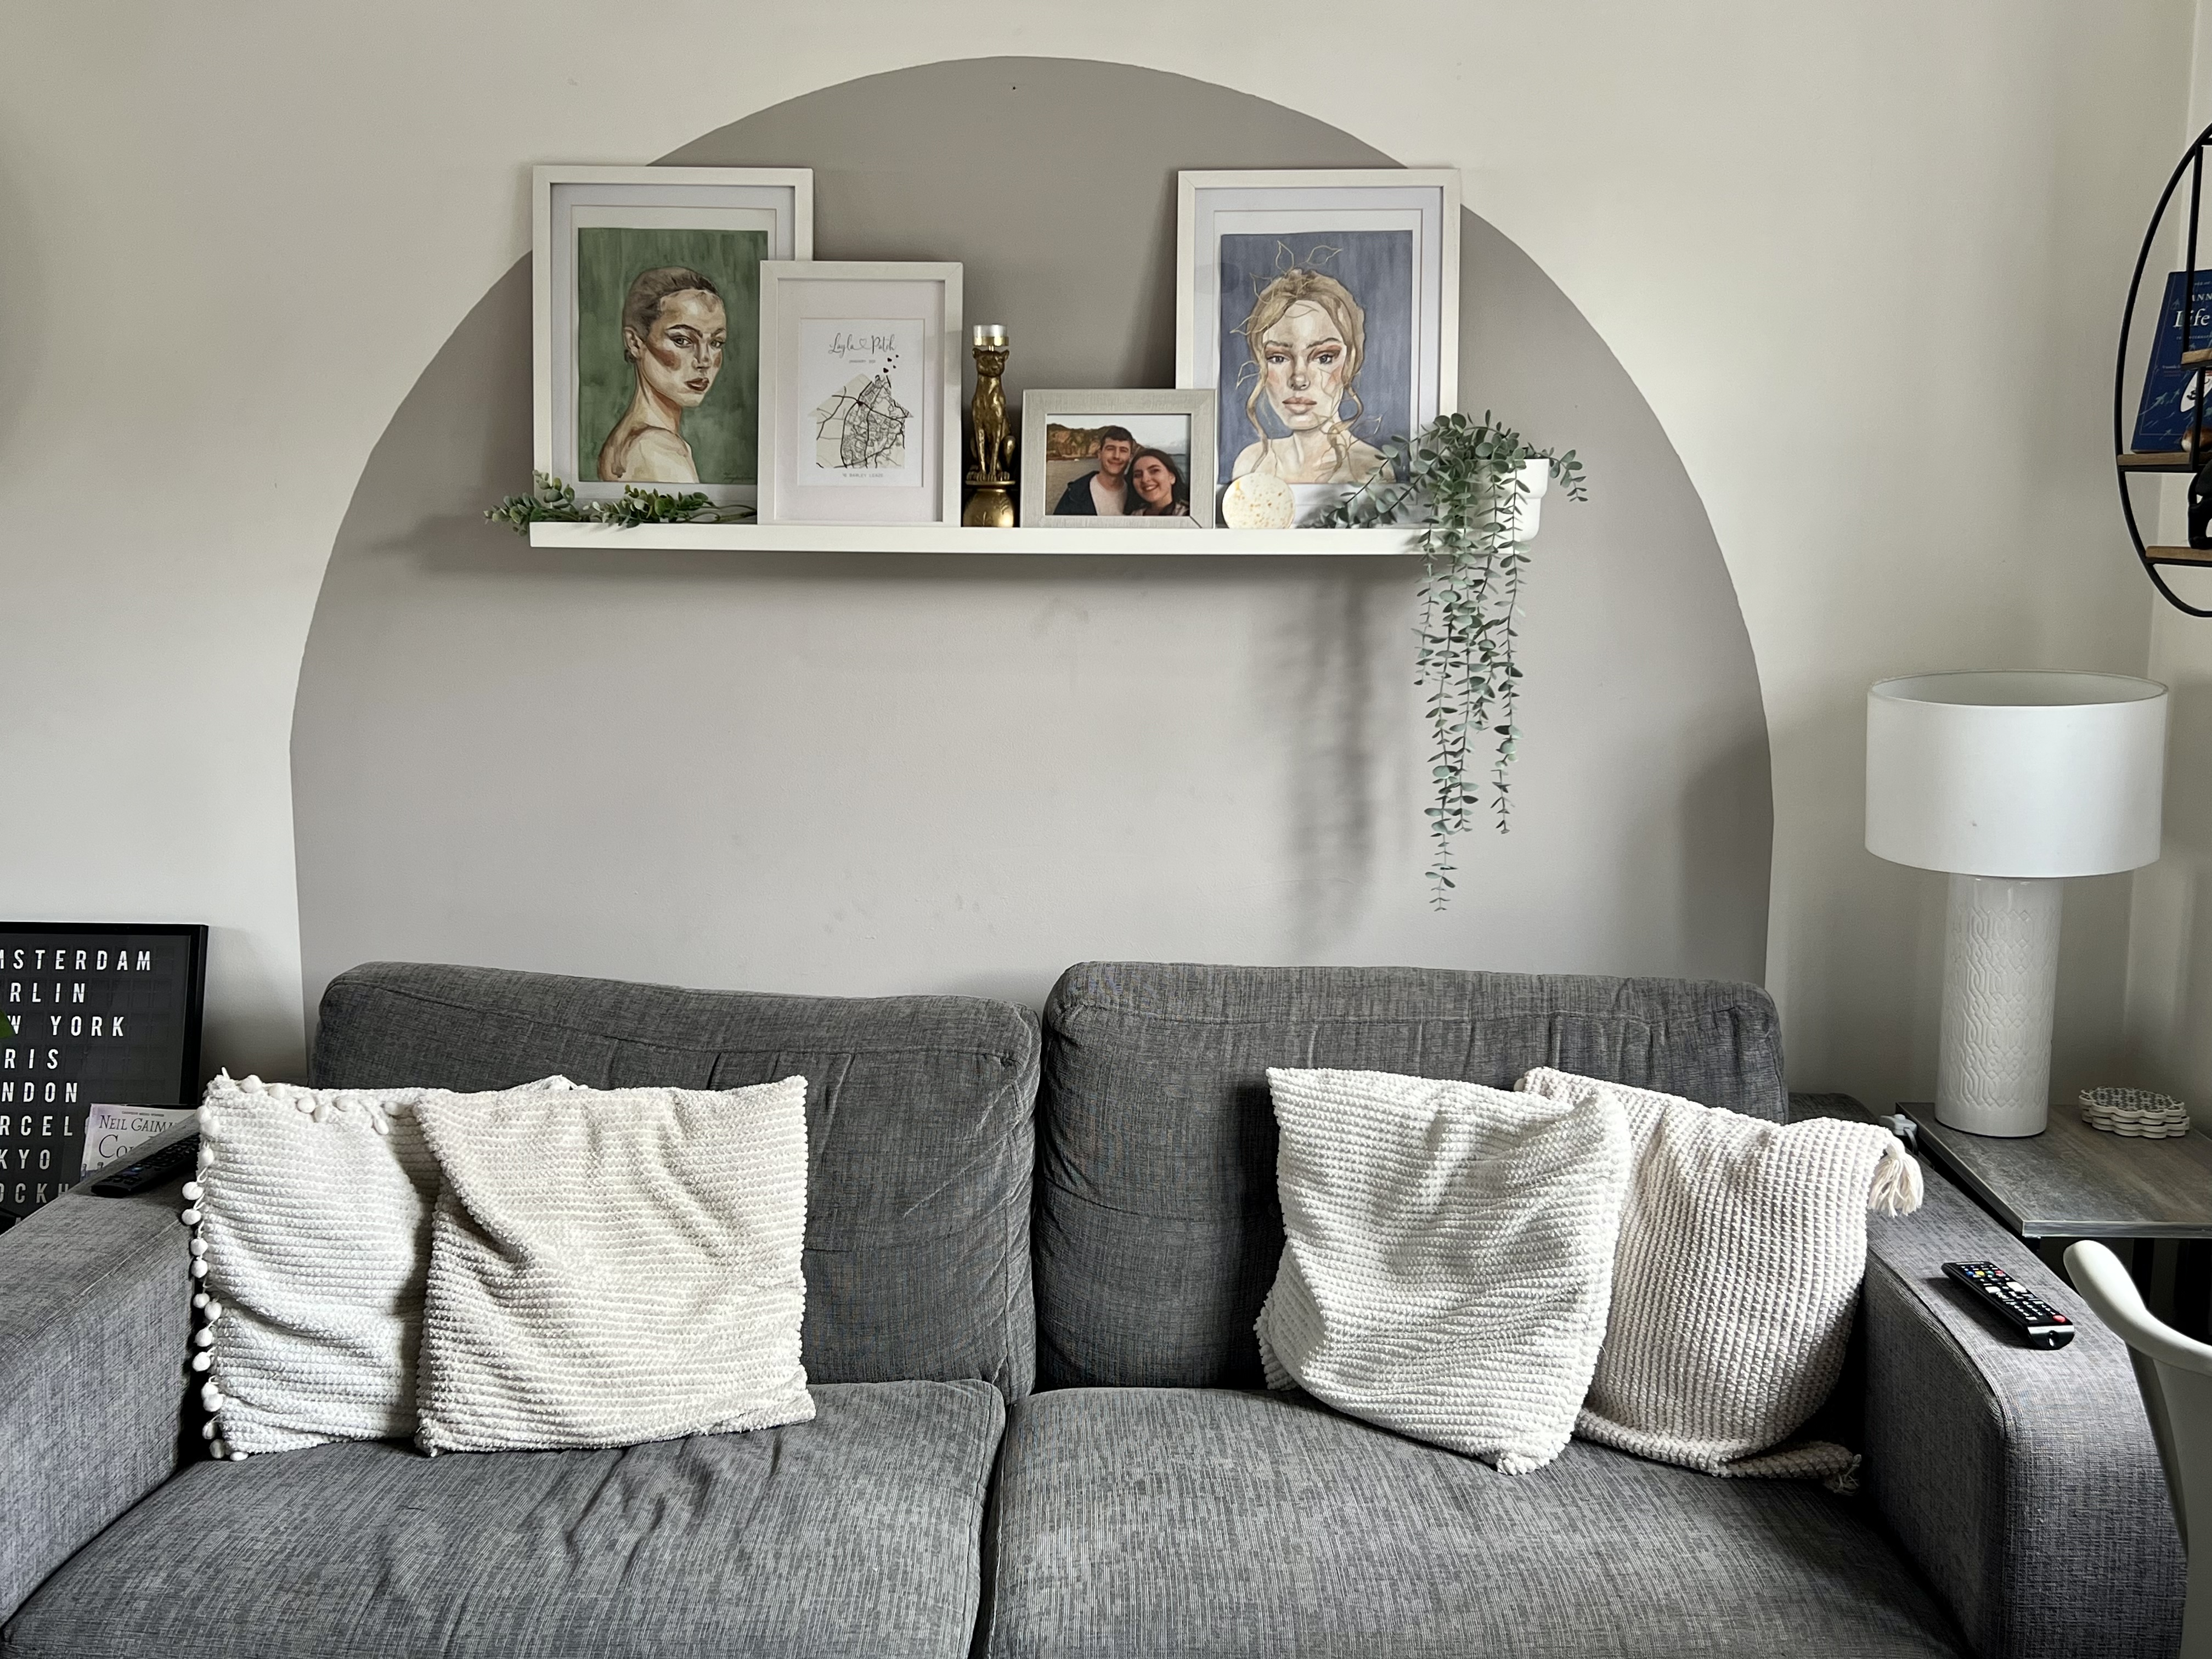
Arches can also be a great way to section parts of your walls. For example, you can see how I used my arches to hang shelves and photos to make it even more of a feature.
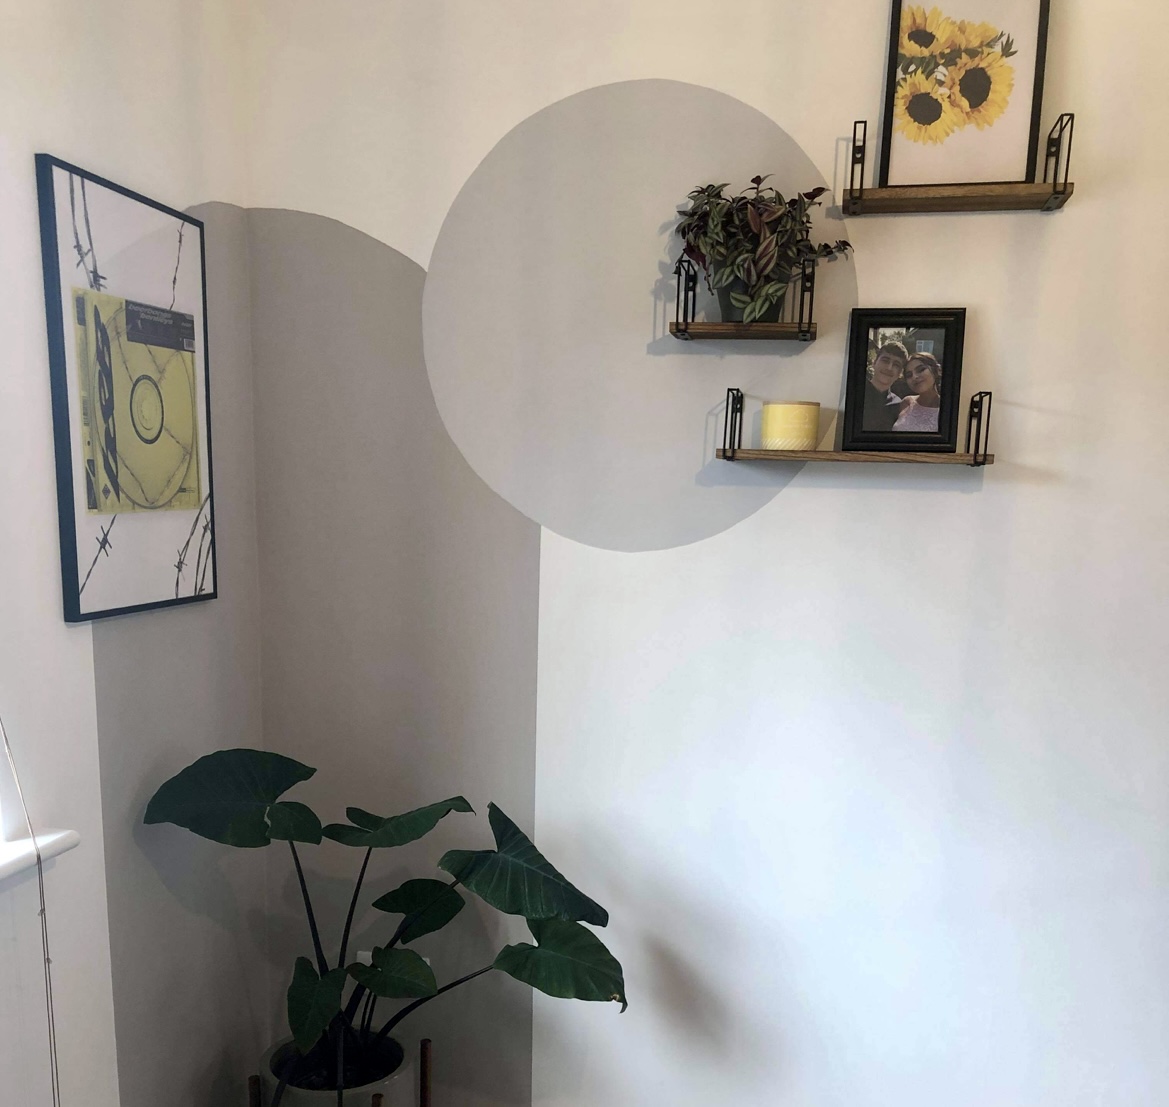
You’ll also notice that I went a step further and added a circle too, which you can do using the same technique as mentioned above with your string and pencil.
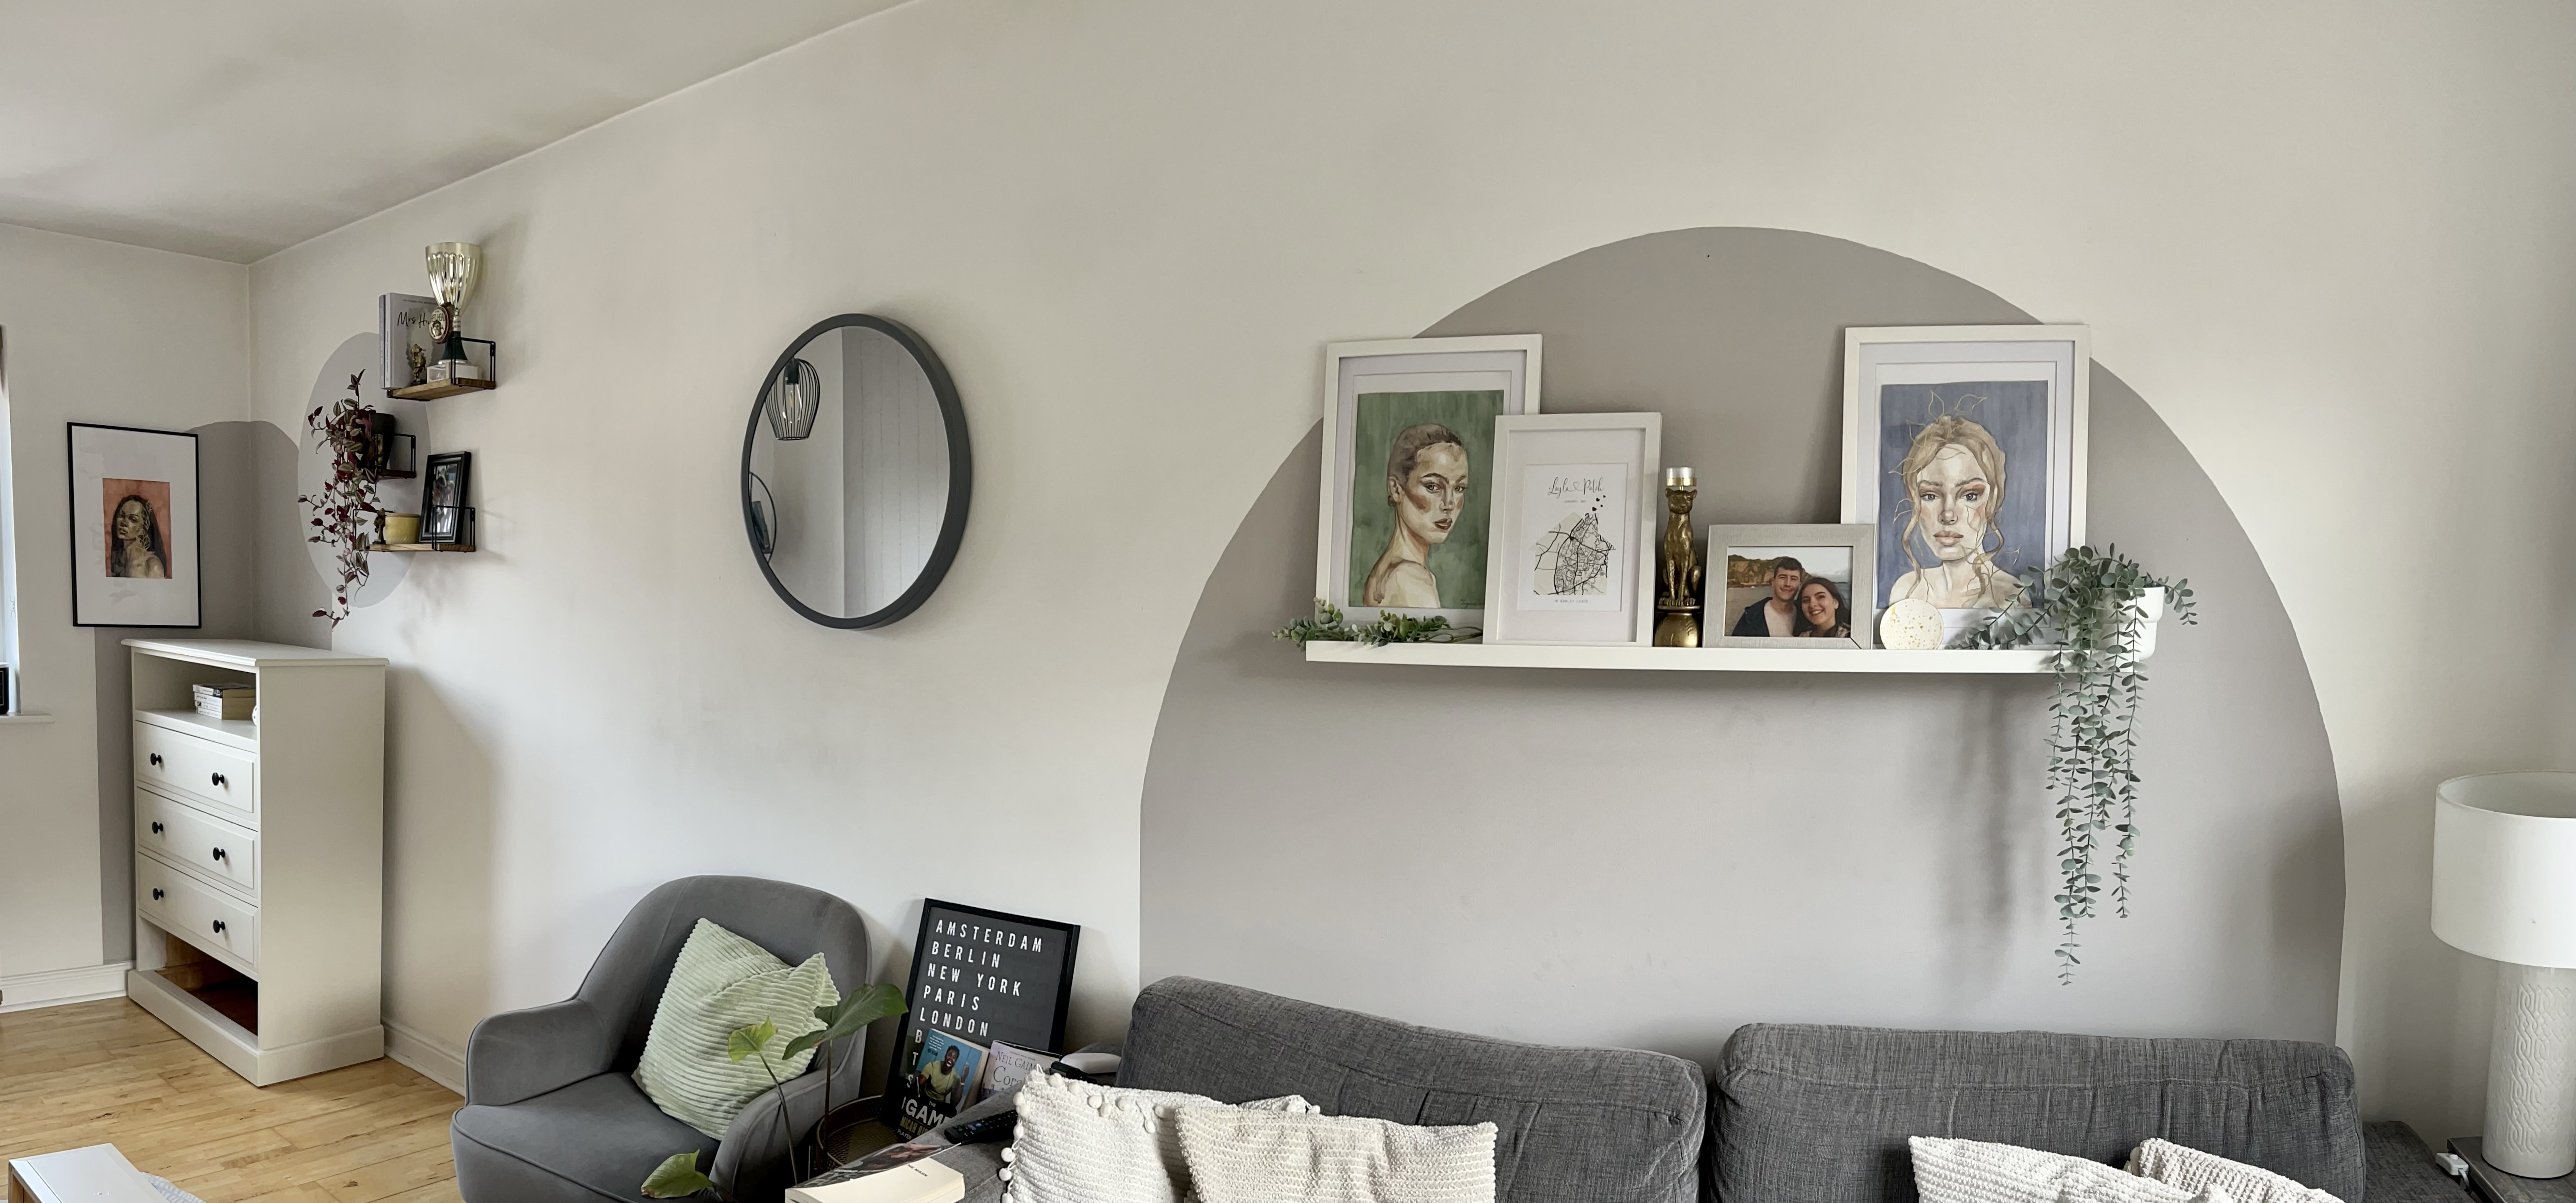
You’ll notice here that the arches make the long, flat wall look a lot more interesting.
Other Handy Tips
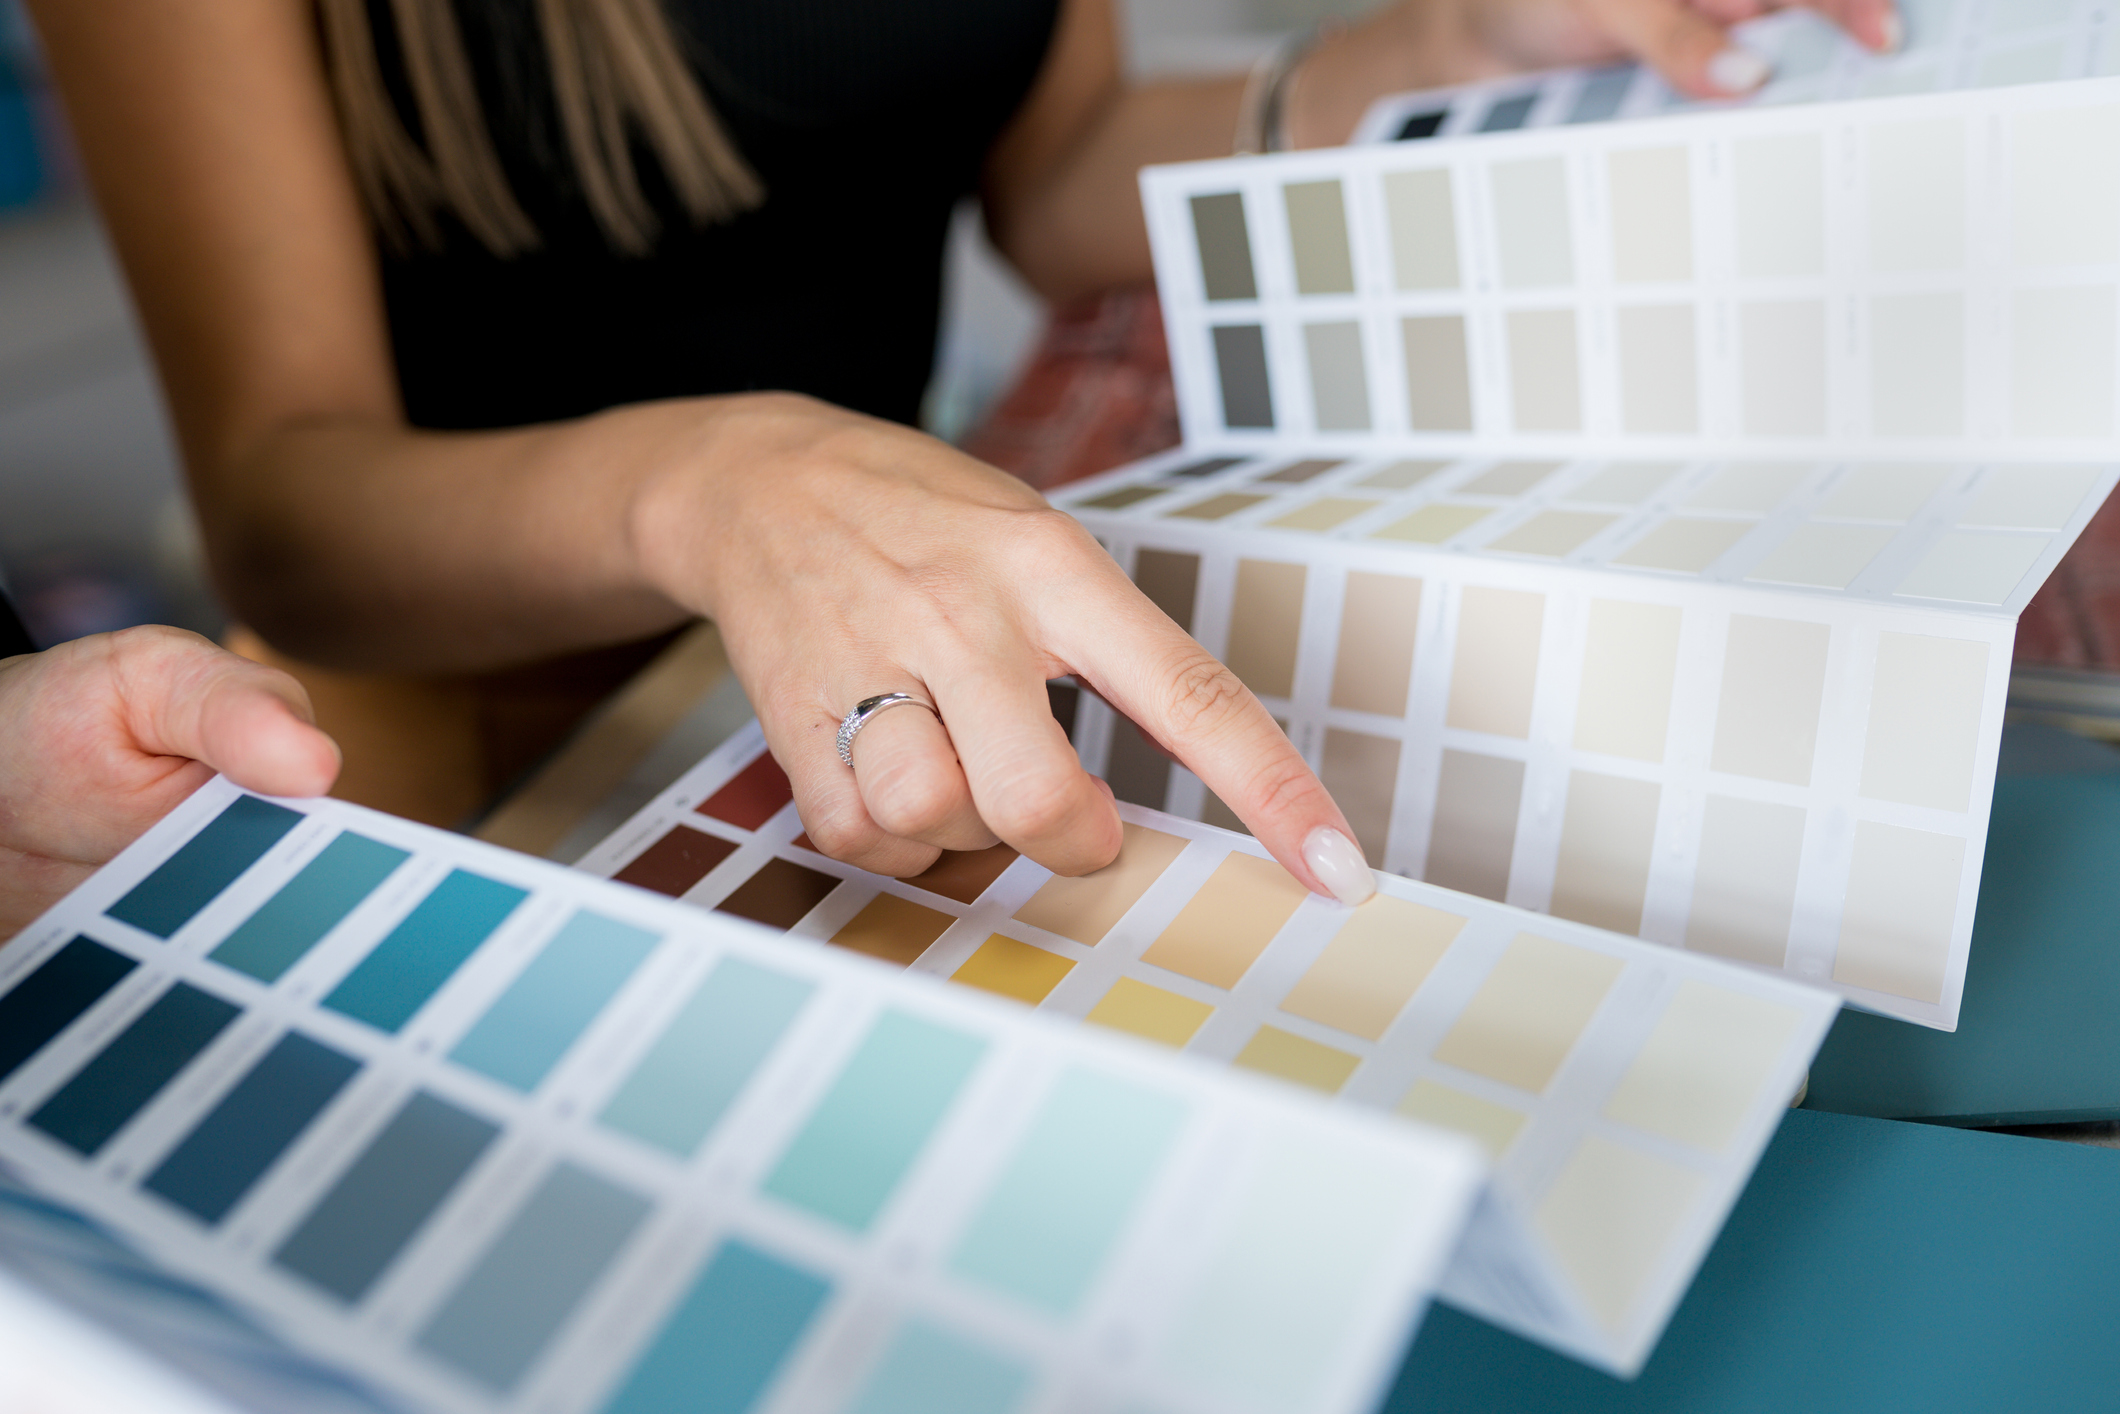
As a homeowner now for going on almost 3 years, I’ve dabbled around in decorating on a budget and have learnt some handy tips and tricks along the way to help you save money.
Find Your Interior Style
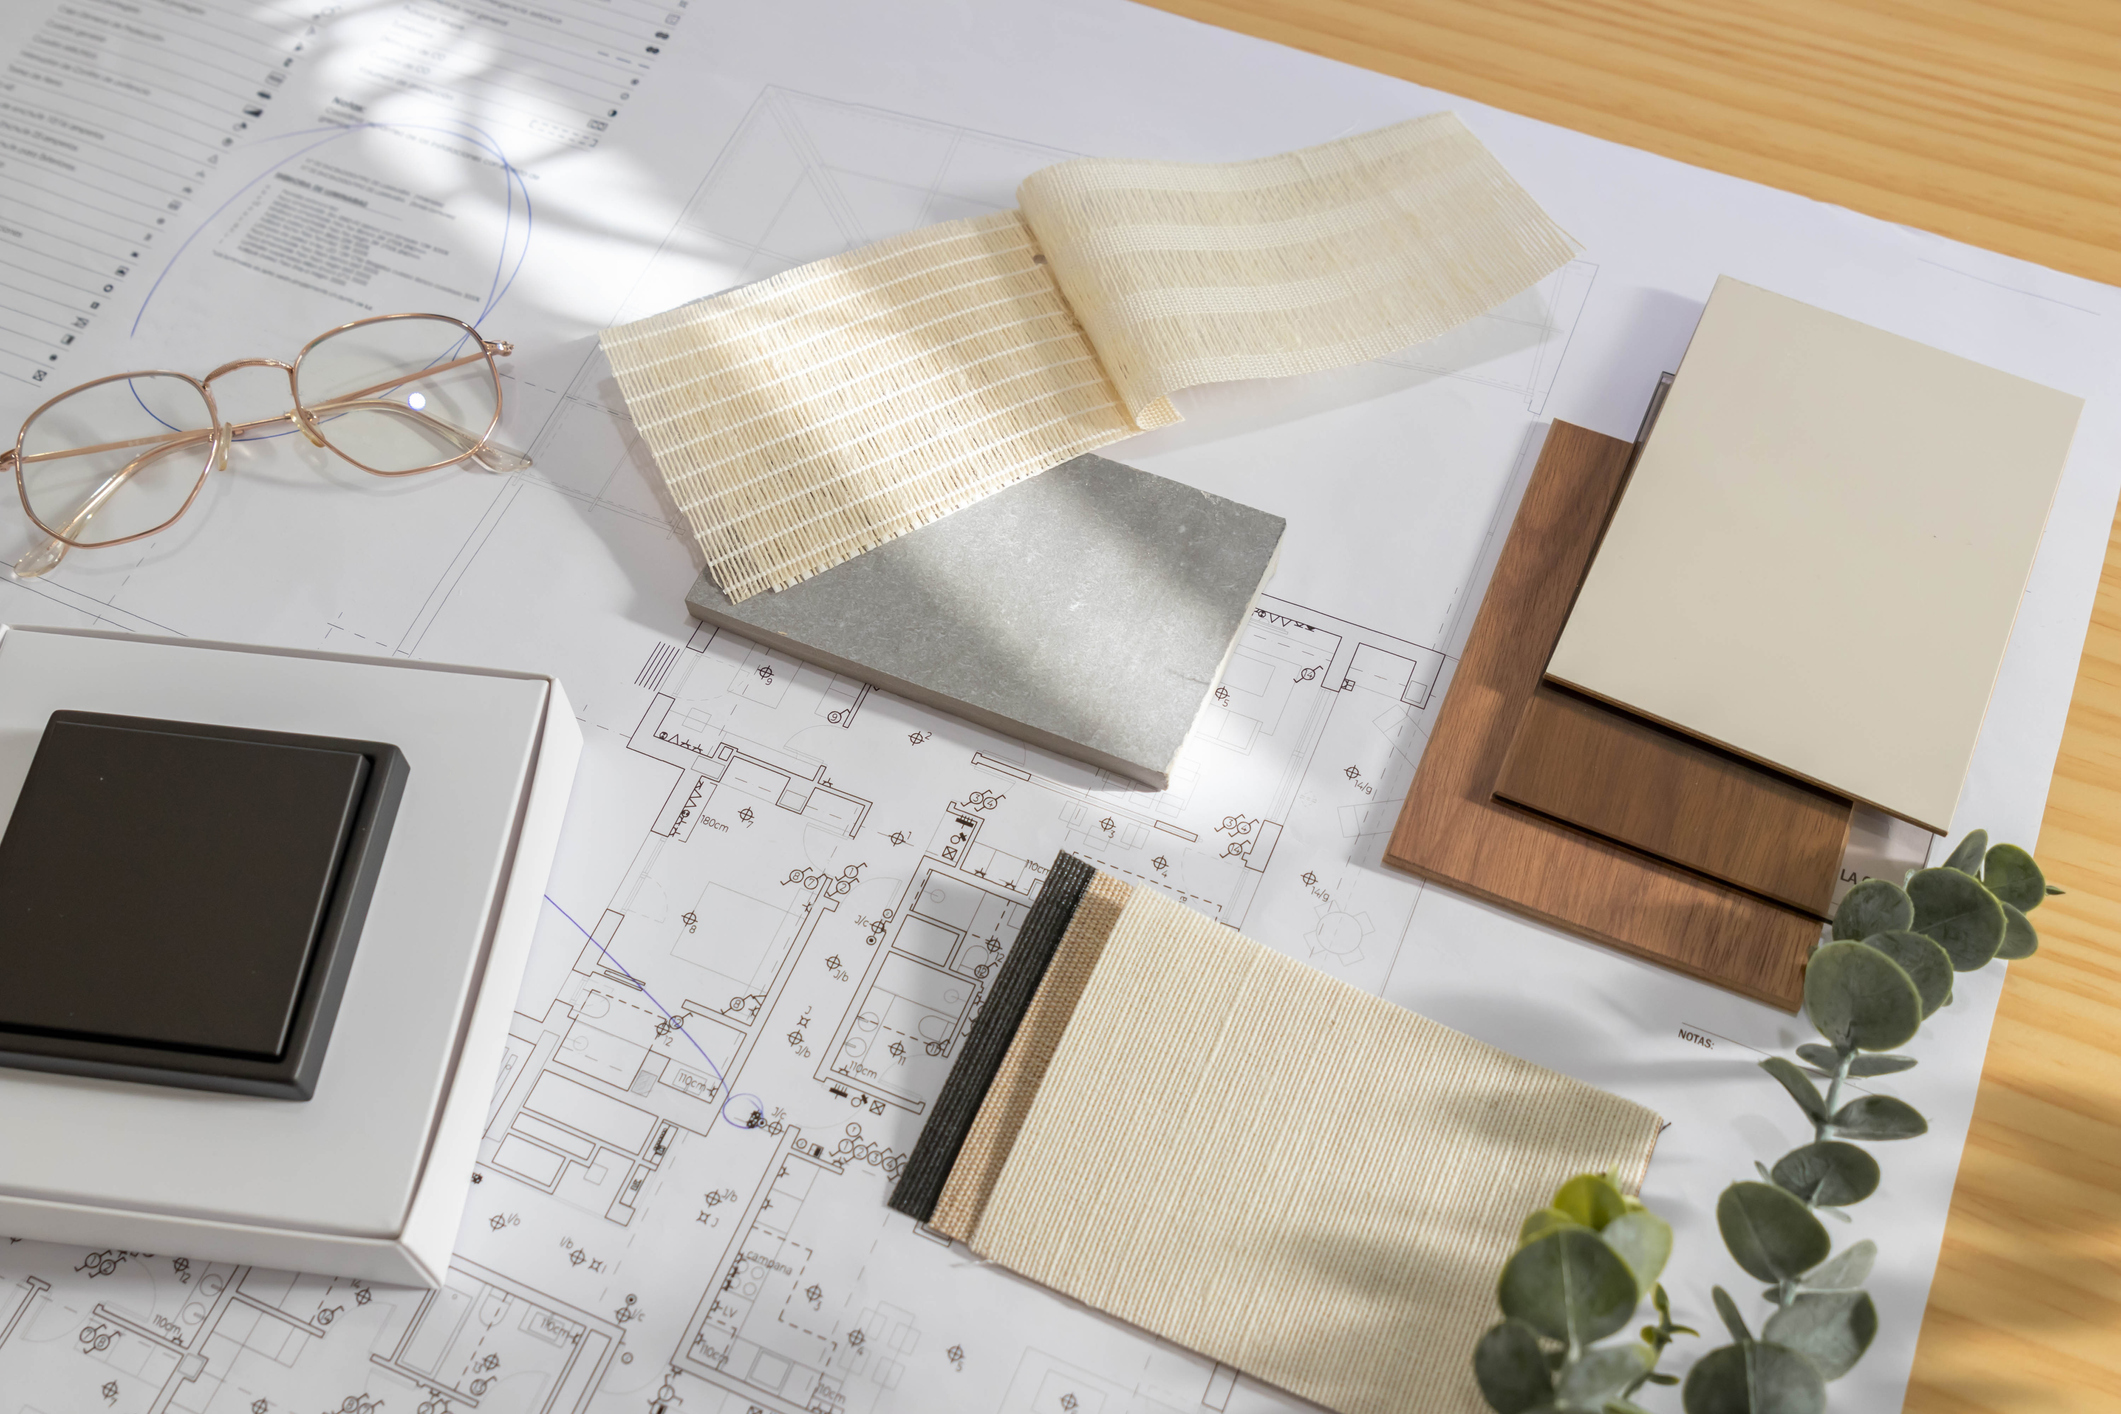
When you move into your own place for the first time, staring at a blank space can be a bit intimidating. If you’re anything like me, then you might be dying to decorate your space, but it can be really handy to take a moment to do a little research first.
There is an abundance of interior design styles out there, from traditional, modern, and rustic, to bohemian, minimalist and contemporary, and it can be a little confusing.
Online, you’ll be able to find a wealth of interior design quizzes that you can take for free. I did an interior design quiz myself where you simply tick the styles you like and ignore the ones you don’t. After that, the quiz will take all of your selections into consideration and tell you the names of the interior styles that you like.
Once you’ve figured that out, you can search online for inspiration. Find out what those styles look like (colour, texture, types of furniture, etc)., so you can inject some of it into your own home. That way, your space will feel super put together and cohesive, and you’ll love it for years to come.
Create Pinterest Boards

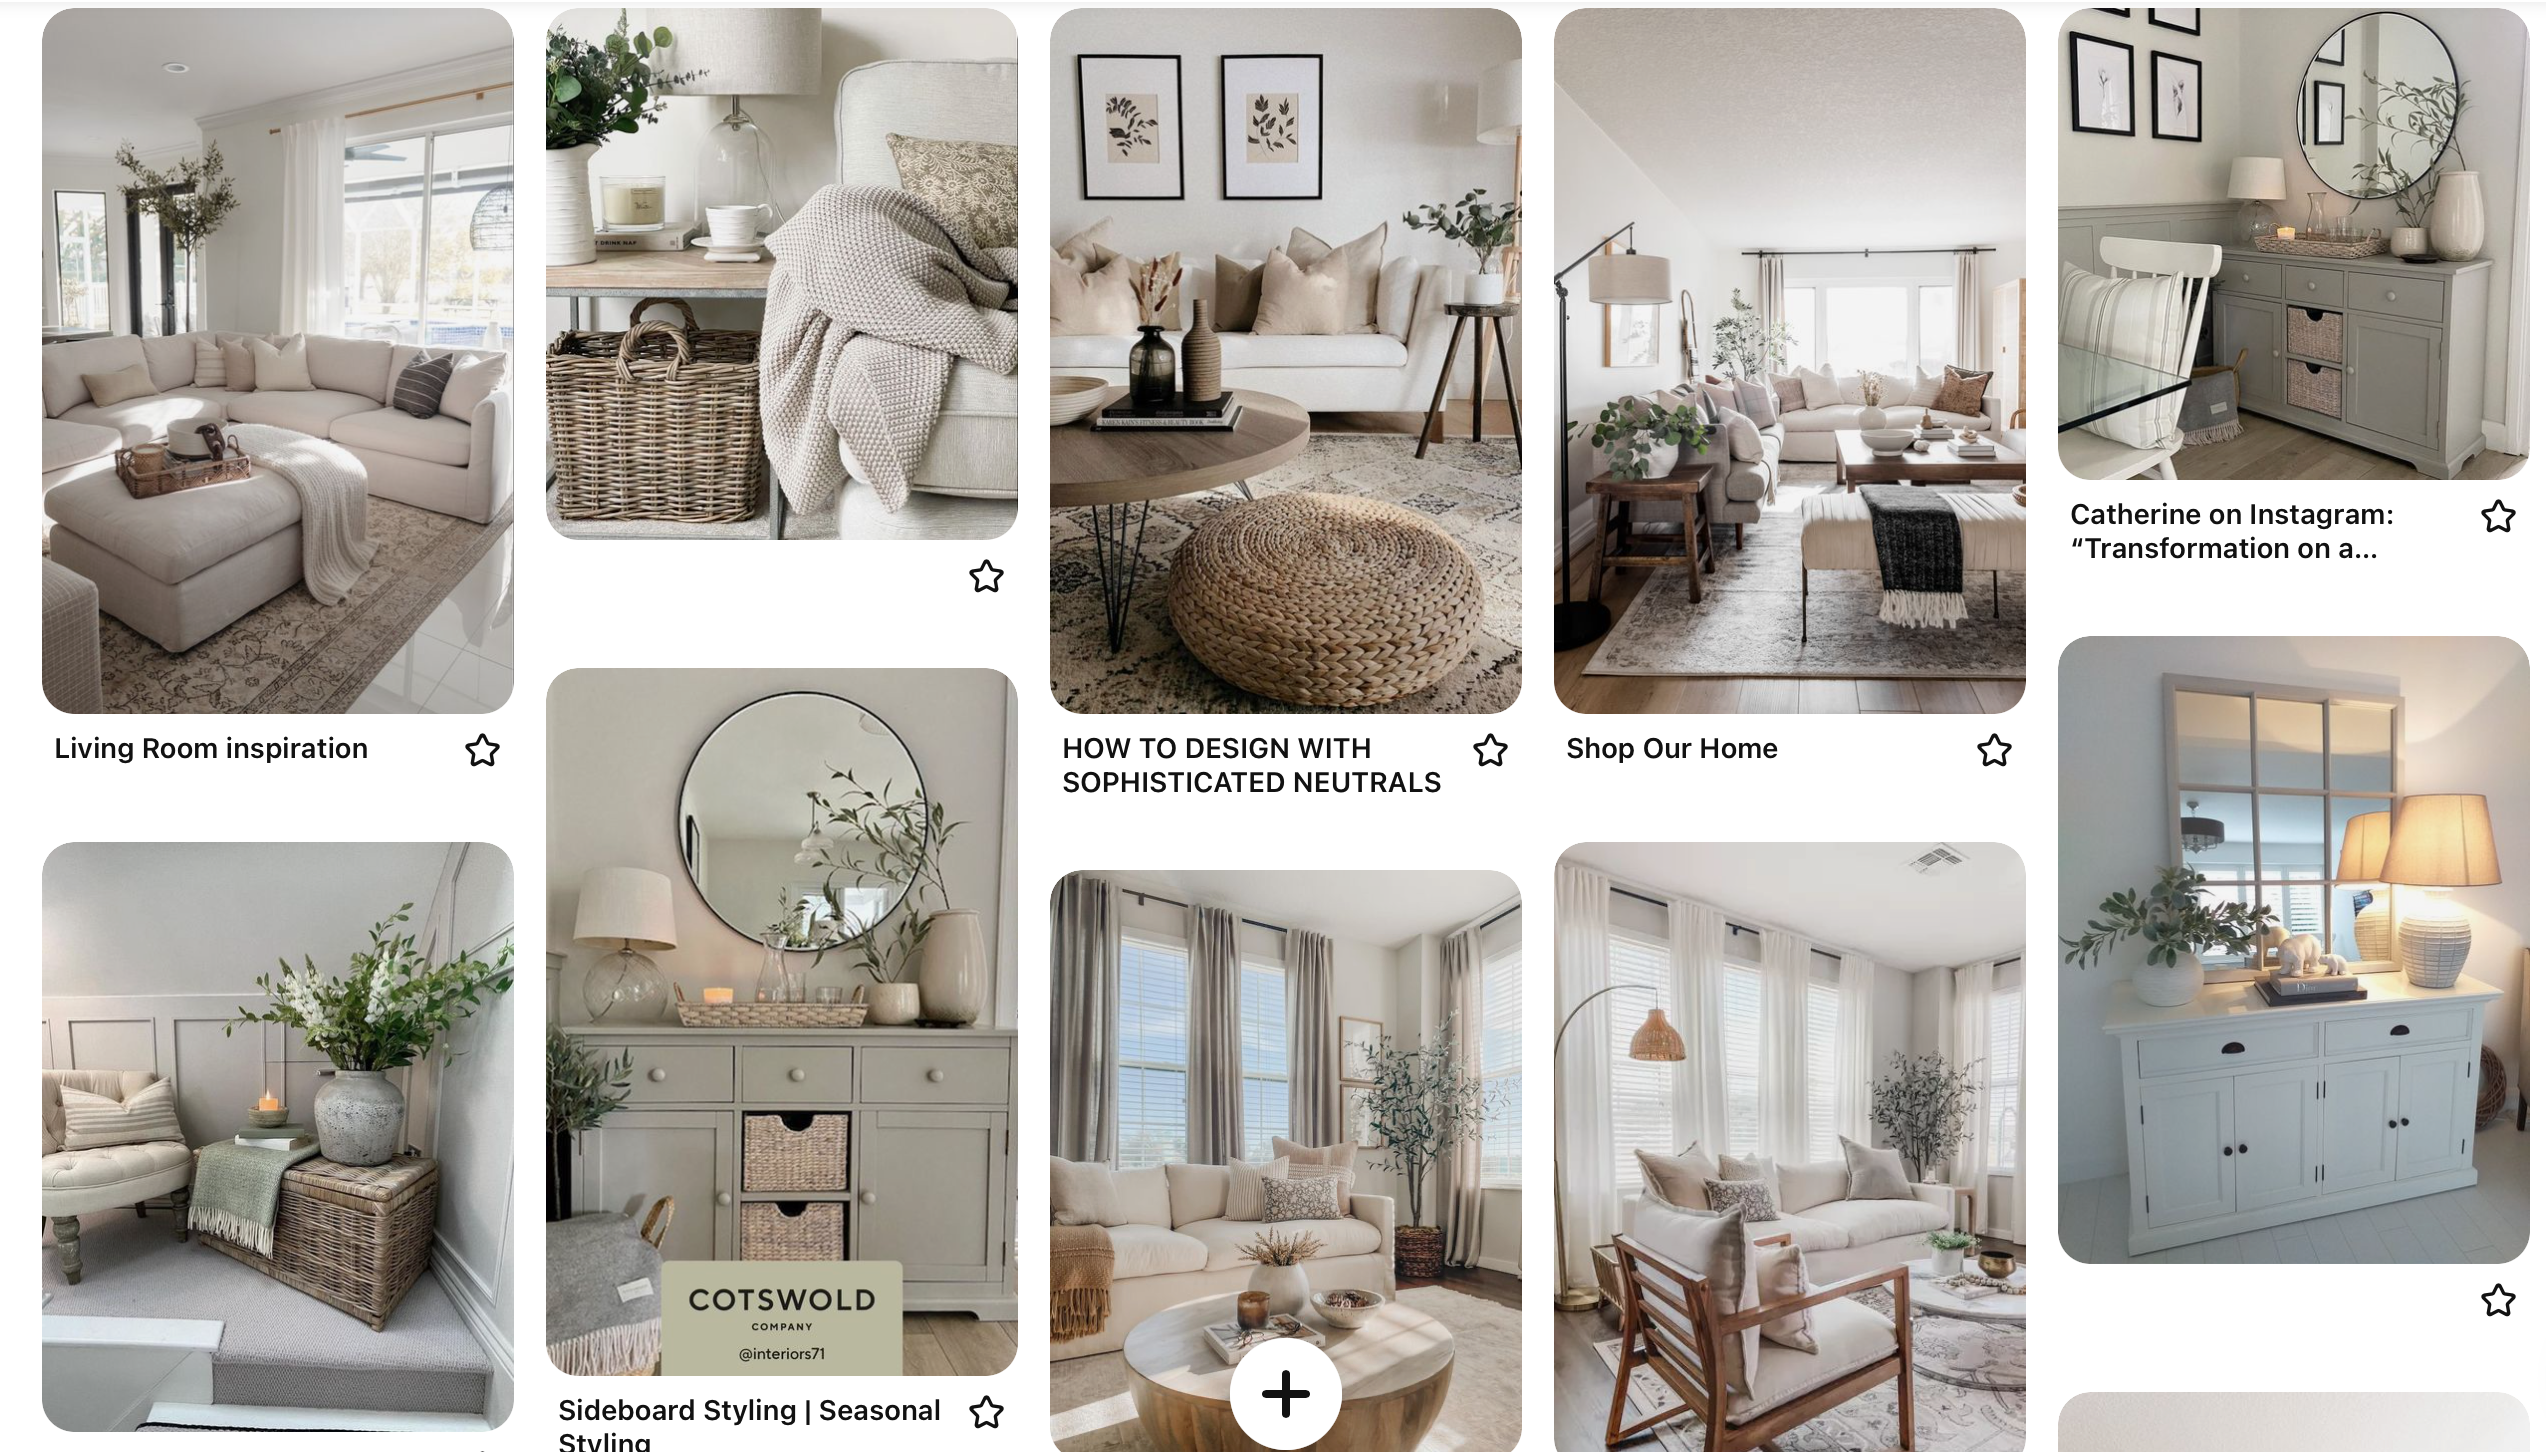
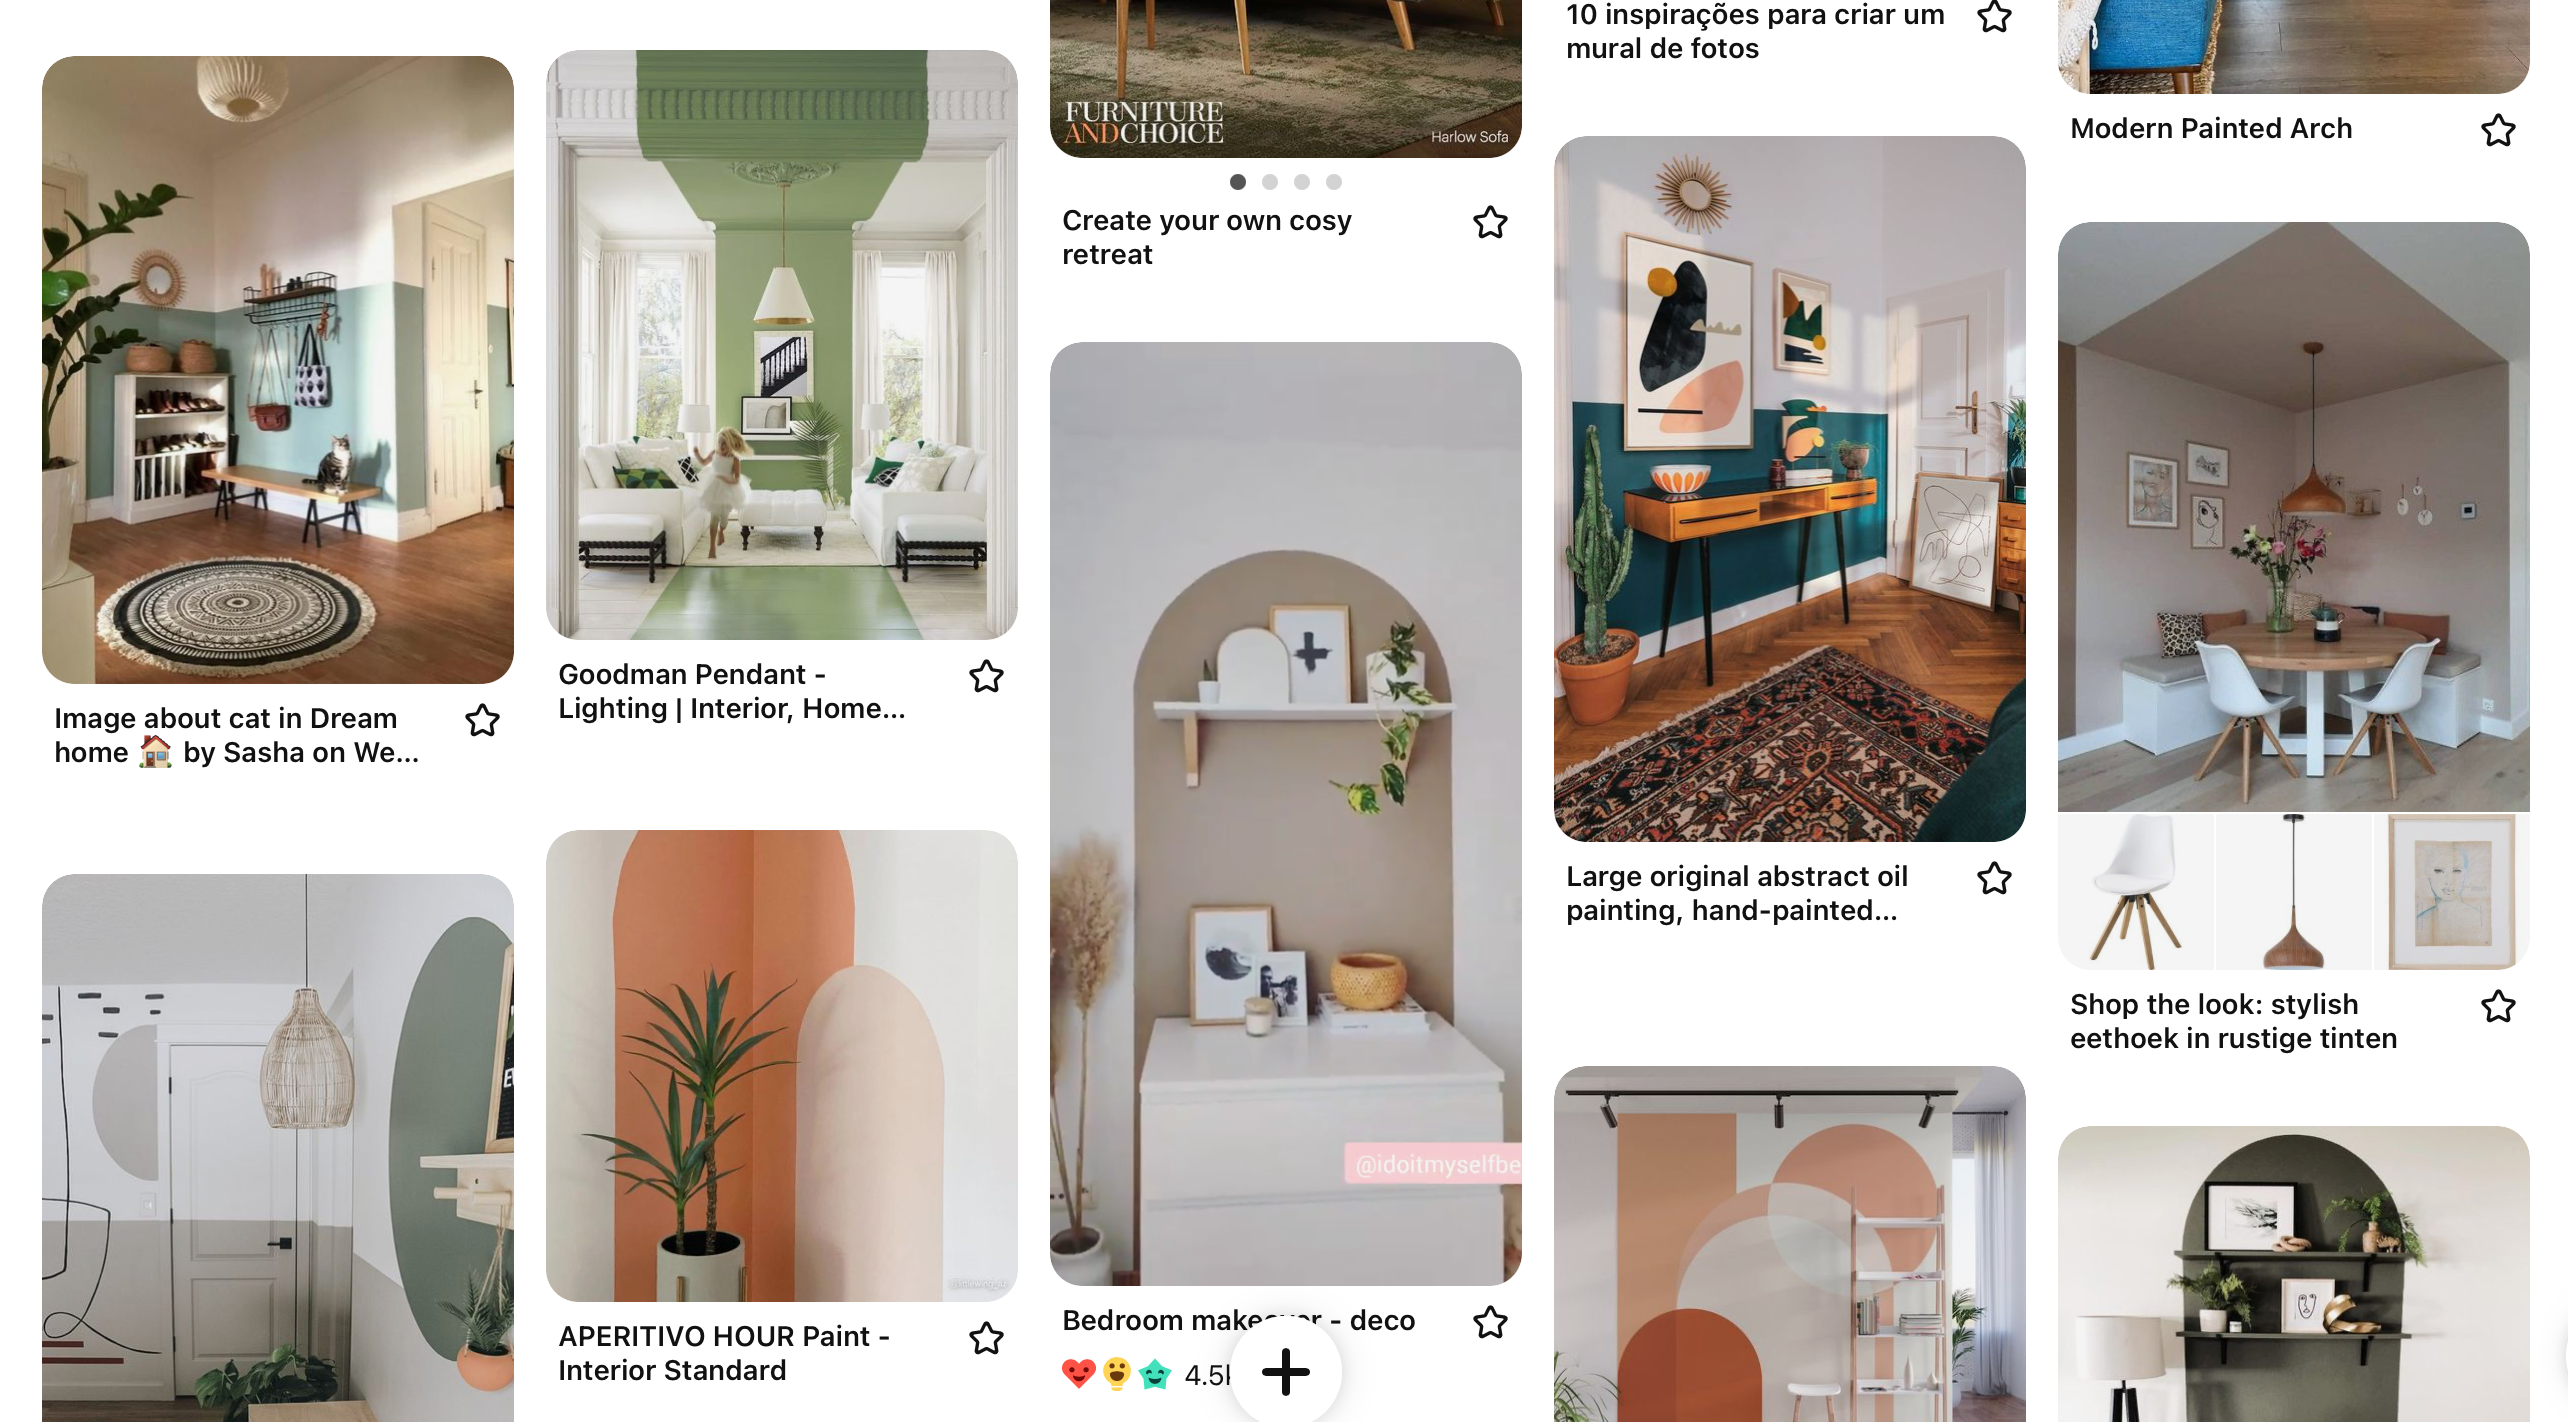
If you’ve just moved out for the first time and you’ve got lots of space in need of decorating, you might feel a bit lost. The best tip I can give is to utilise a free app like Pinterest for inspiration and ideas. Discover what kind of styles you love without spending a single pound, and explore different looks, finishes, colours, and more.
The biggest reason I would recommend you do this is because it prevents you from decorating your space in a way that you’re not 100% satisfied with. That way, you’ll avoid having to spend more time and money redecorating. Trust me - I’ve been there.
Below you can see some of my own Pinterest boards which have been extremely useful over the years that I’ve decorated (and re-decorated) my home! From ways to make a statement to working out what matches your preferred aesthetics, it’s as simple as that.
Make Mood Boards
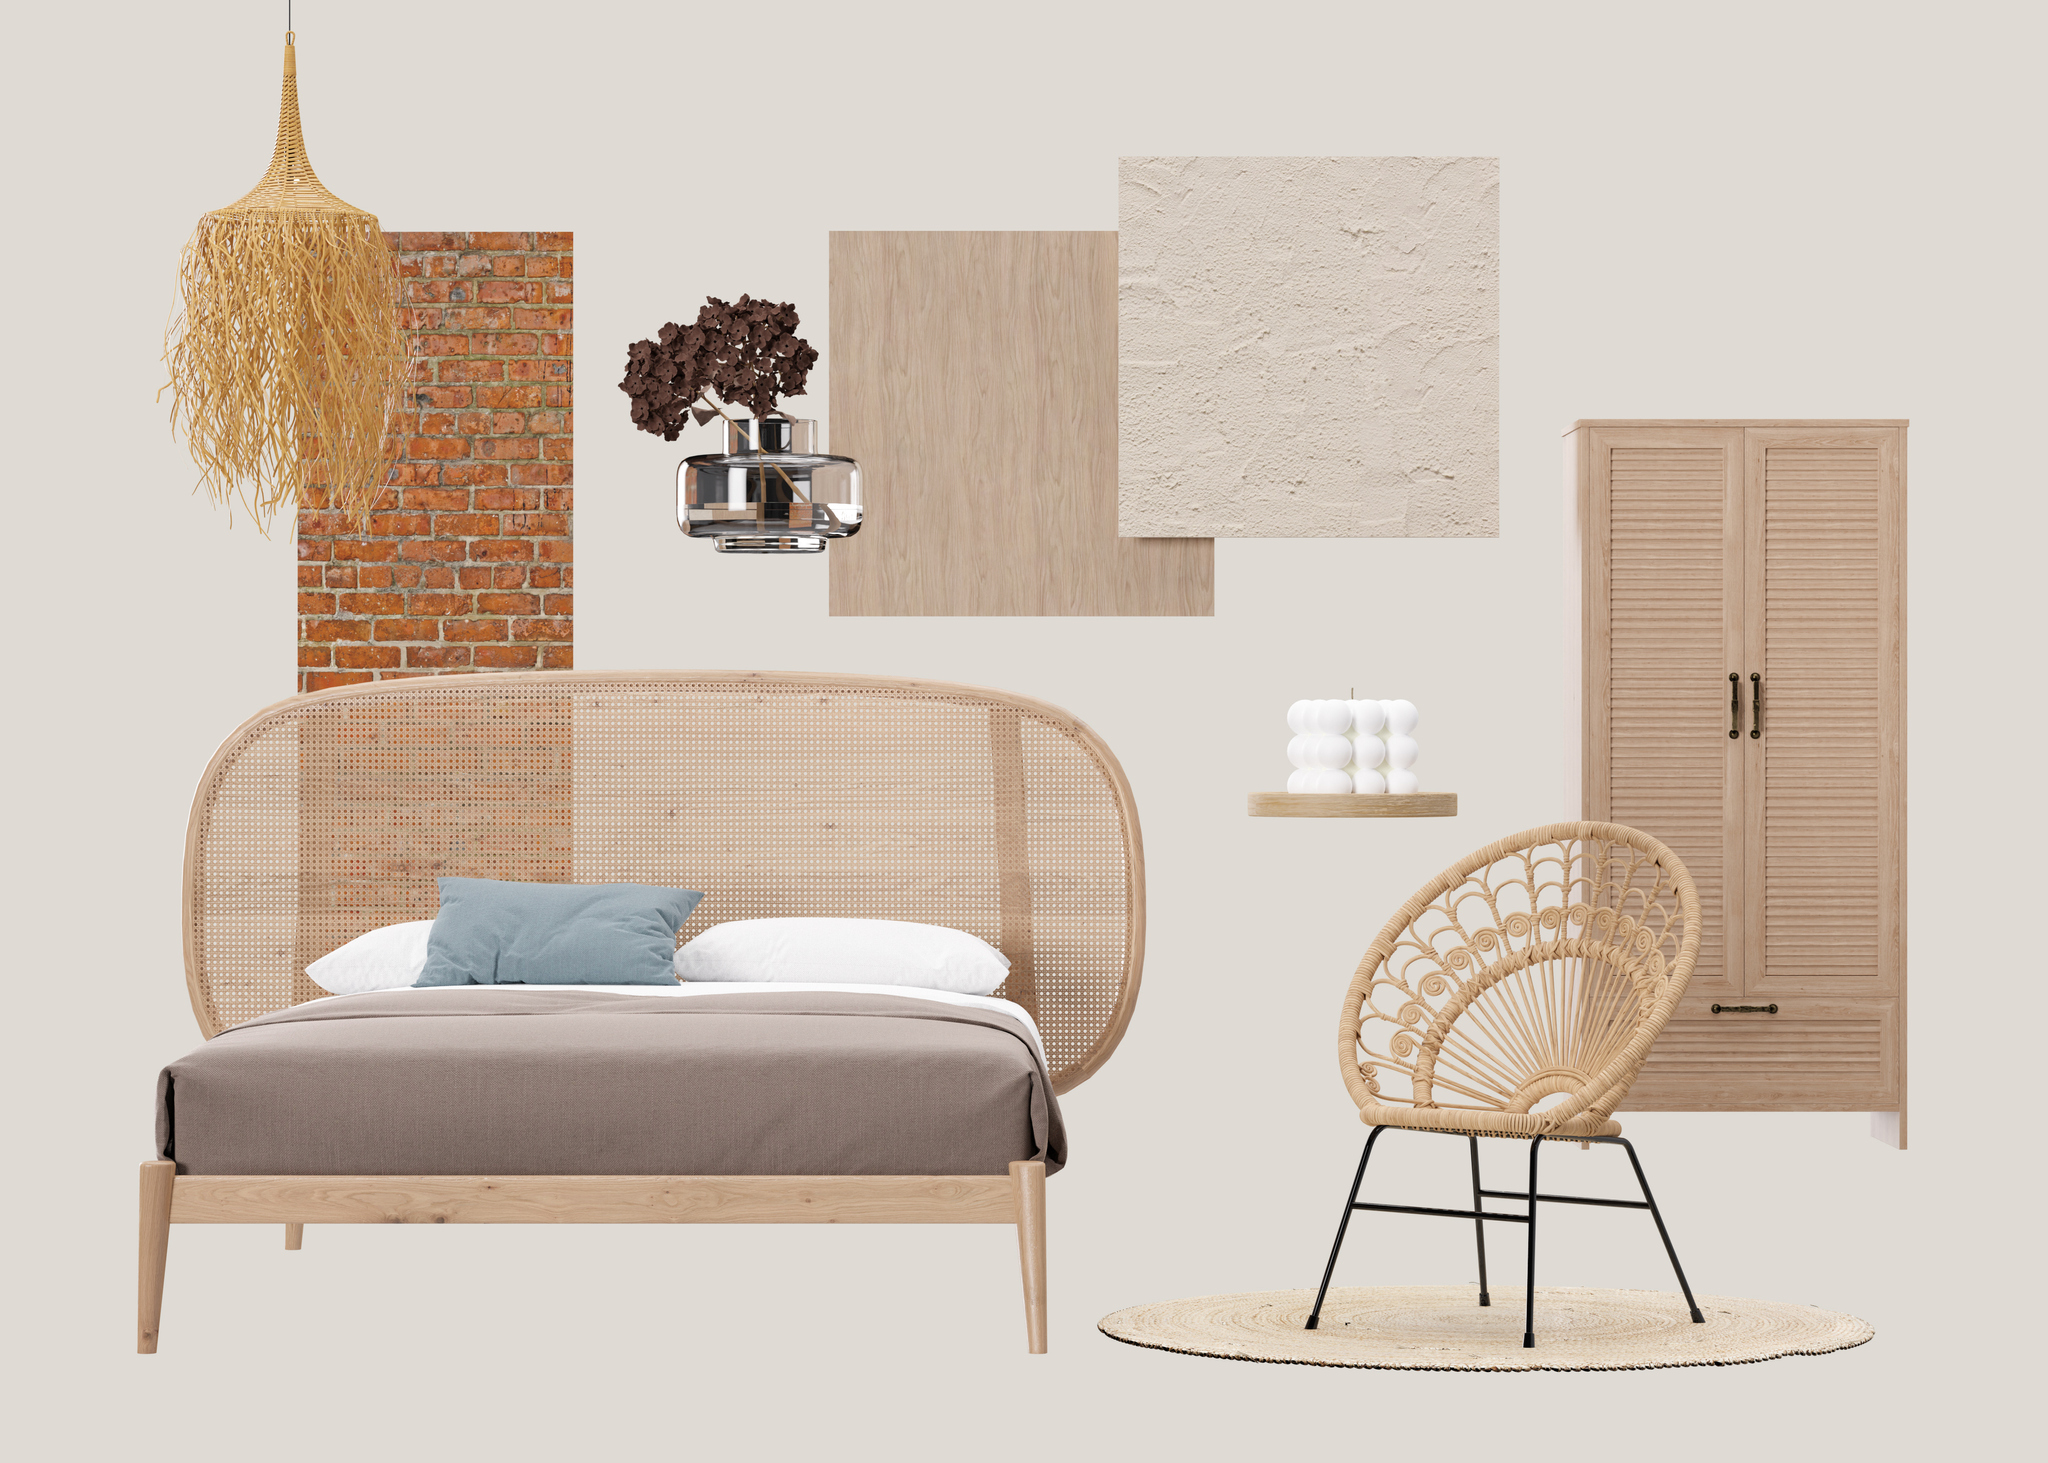
In my first home, I rushed into decorating and buying furniture, and in the end, I was left with a lot of bits and pieces that I wasn’t 100% happy with. My space felt uncoordinated and ultimately, it wasn’t my style.
Once you’ve worked out what your style is, be it modern farmhouse, Scandinavian style, bohemian, rustic, etc. it can be tricky trying to make your space come together. Mood boards can be a total lifesaver.
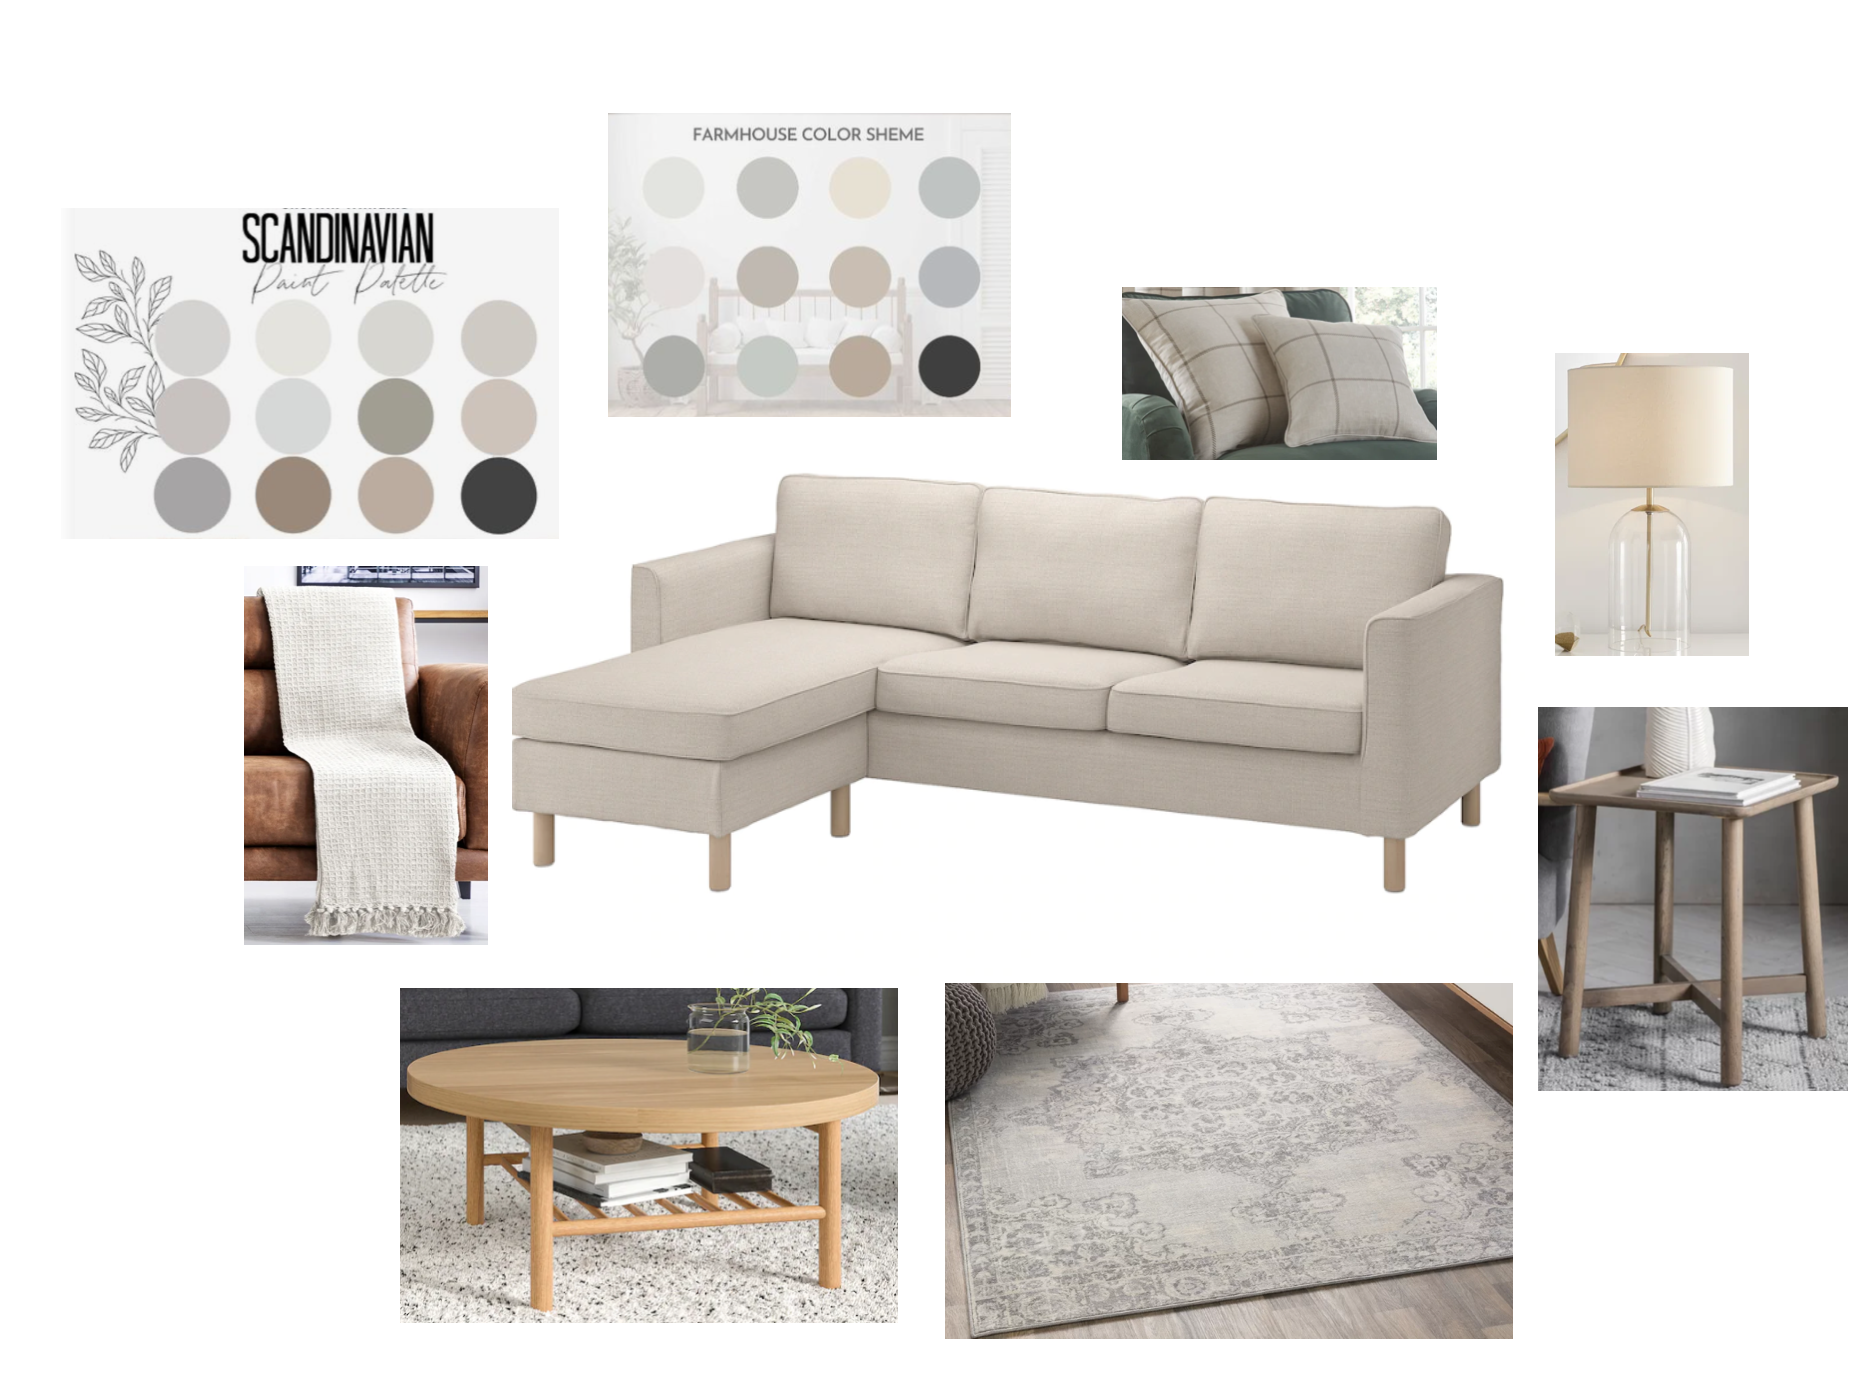
Ultimately, a mood board is just a big space (physical or on your computer), where you can collate all of your decorating ideas together to see if they work.
Using your Pinterest boards, focus on what types of materials (i.e. woods, metals, exposed brick, etc.), textures (i.e. soft, silky, feathery, coarse, etc.) and colours (neutrals, pastels, naturals, bolds, etc.) work with your preferred interior design style(s). If you see a certain type of furniture (i.e. coffee table, sofa, tv stand, rug, etc.) that you adore, add it to your mood board.
Once you start adding things, you’ll be able to see what really works, and what really doesn’t. By doing this, you’ll save yourself a huge amount of time, effort and not to mention money, because you’ll avoid buying furniture or painting coloured walls that simply don’t work in your space. Believe me, I’ve been there, and making mood boards have saved me!
Below is an example of my own mood board for my lounge.
You Can Always Go Neutral
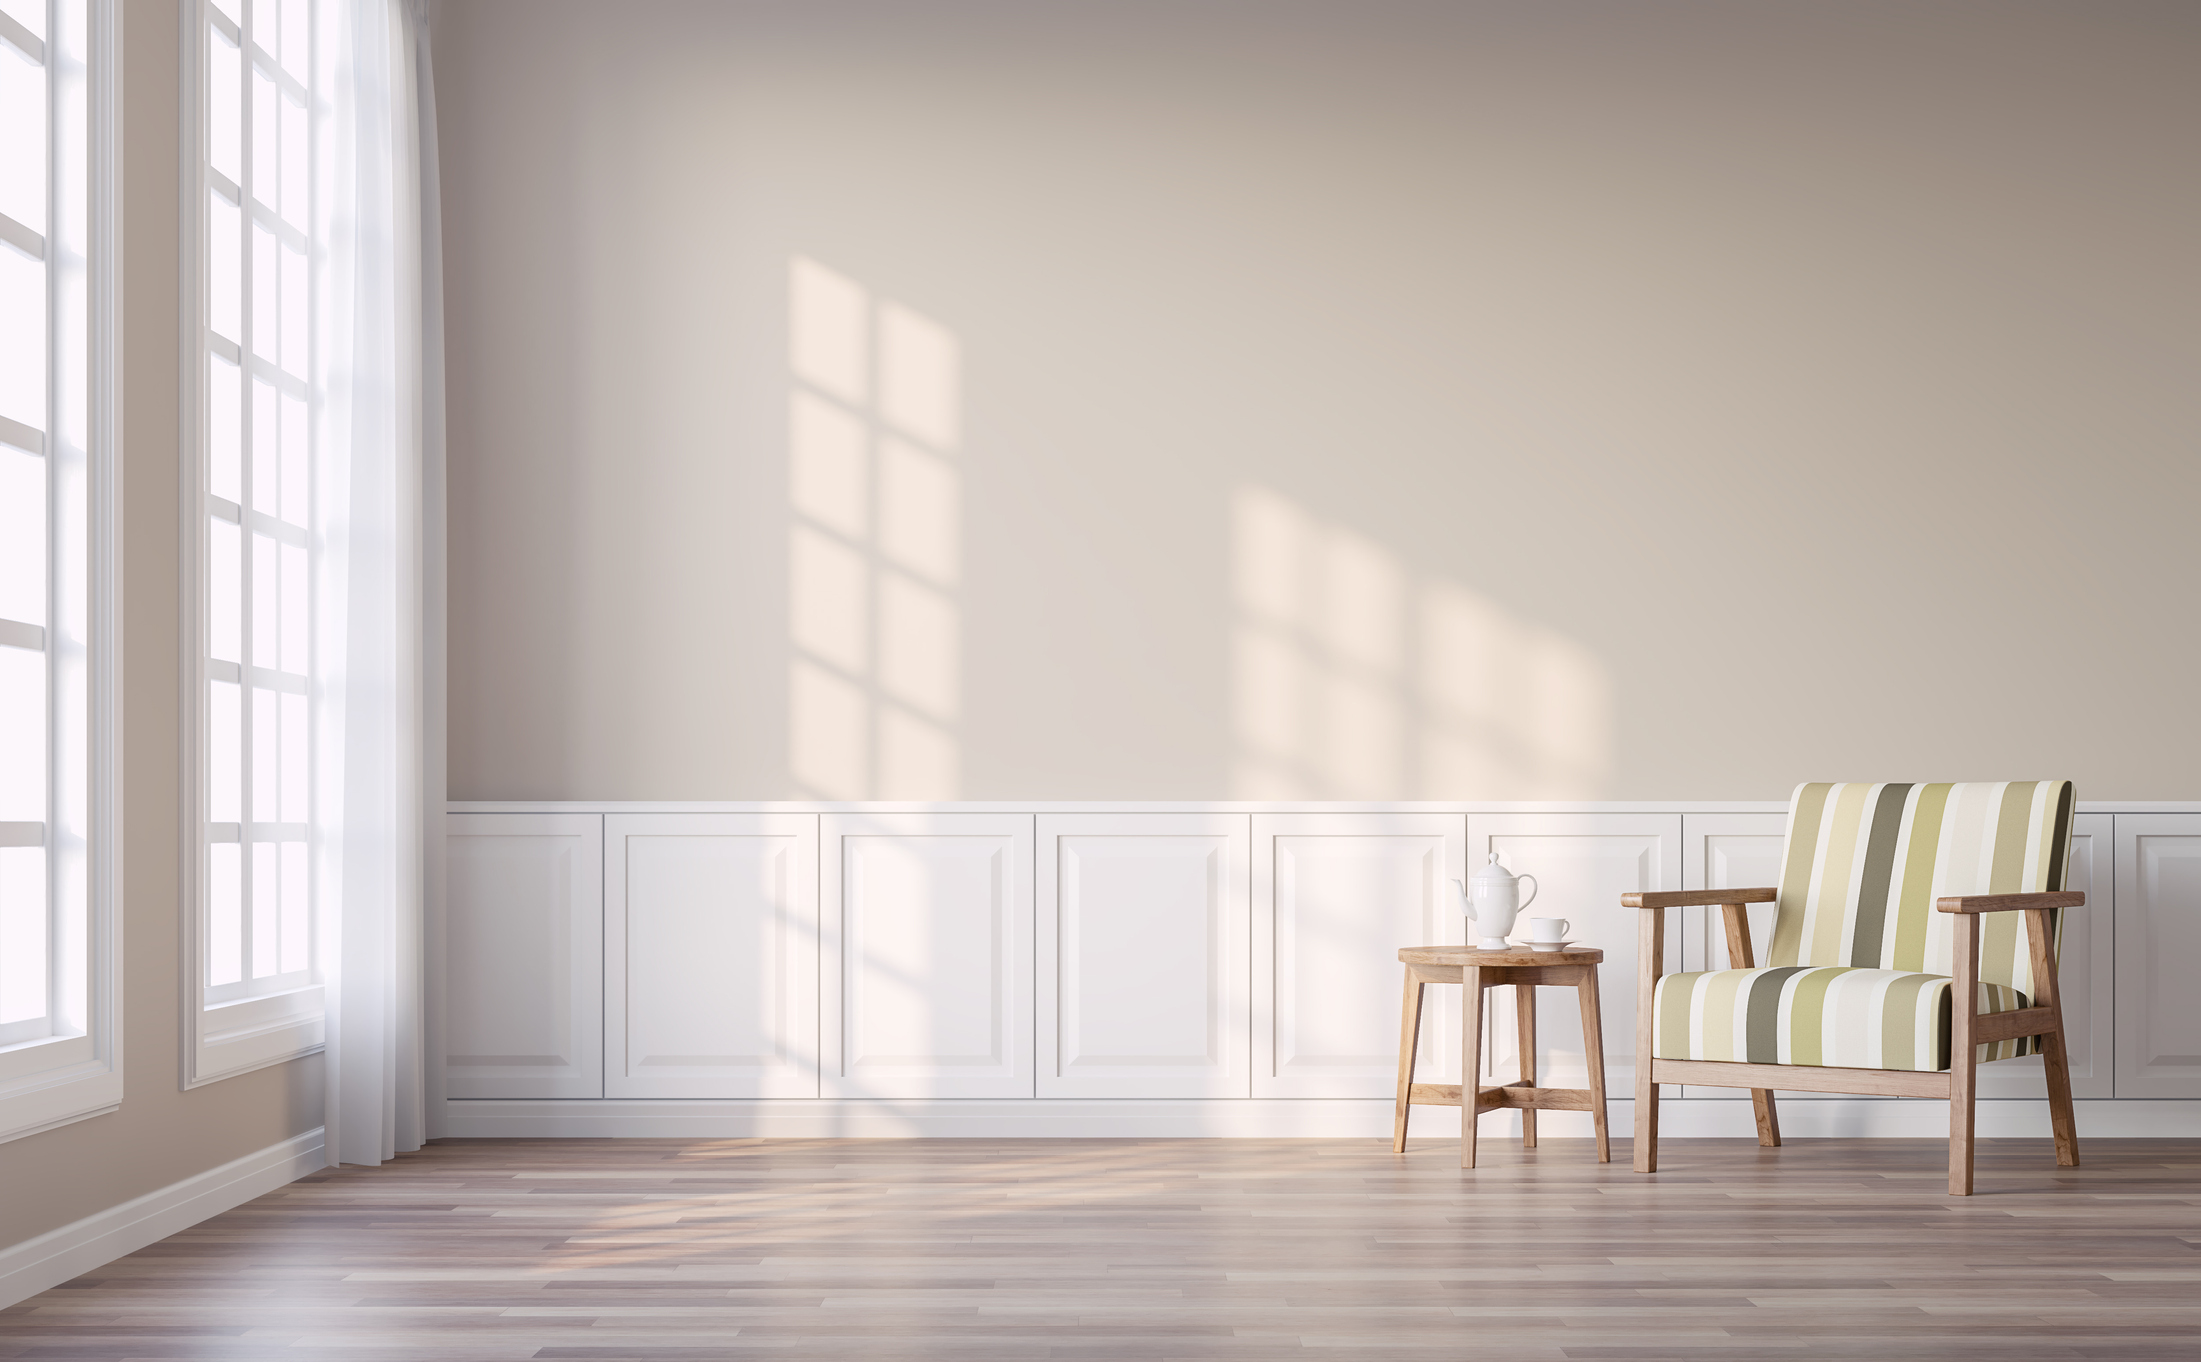
Last but not least, if you’re super nervous about picking up a paintbrush, don’t worry. Going neutral can be a great option when you’re first starting out. What’s more, sometimes keeping your walls neutral makes it easier to decorate. You can always add more colour with accessories, home decor, and soft furnishings.
If a few years later you fancy something a bit more out there, then go for it. That’s the thing with paint - it can be painted over!

I’m Layla, the home and garden editor, and I started working at MyVoucherCodes in November 2022. I have always loved to write, especially after getting my degree in English Literature and Creative Writing, and since getting my own place, I’ve gotten stuck into all things home and garden.
When I’m not writing about saving money on homely purchases, I’m either sitting with my head in a new book, painting a piece of art for my walls, or binge-watching an interior design programme on Netflix. I love to get inspiration and transform my space, usually with the help of a few Pinterest boards and a couple of tins of paint.